Azure
Ernich asset context with asset information from Azure
This context integration adds asset information retrieved from Azure as context labels in Netography Fusion.
Cloud Context Enrichment: Add a Context Integration vs. Deploying Cloud Function
AWS, Azure, and GCP have 2 options for how to enrich asset context.
Option 1: Add a context integration in Fusion Portal
You give permission in your cloud account(s) for Netography to read asset meta-data from it, and then add a context integration for that cloud account in Fusion to retrieve that information. After configuring permissions in your cloud, the configuration and data gathering occurs from the Netography Fusion SaaS to your cloud accounts. You will need to add and configure 1 context integration in Fusion per AWS account, Azure subscription, or GCP project.
Option 2: Deploy a cloud function with Netography's Cloud onboarding automation via Terraform
You deploy the Netography cloud onboarding automation using Terraform, which configures all the permissions required and creates a cloud function that runs within your cloud on a scheduled basis. That function gathers all the asset meta-data locally within your cloud, and then uploads the data via the Netography Fusion API. Netography never has any permission to directly access and read the asset meta-data in your cloud in this option. You can deploy this automation one time for each AWS organization, Azure tenant, or GCP organization, making it a more easily scalable solution for larger environments. For more details on this option, access Netography's Terraform automation at our GitHub repo: https://github.com/netography/neto-onboarding. For access to the repo, email your GitHub ID to [email protected].
Azure Configuration
1. Enter App registrations in the search box at the top of the portal

2. Click New registration

3. Give this new application a descriptive name

4. Leave Supported account type set as default

5. Click Register

6. Copy and save the Application Client ID and the Directory Tenant ID, you'll need this later for integration with Netography Fusion.

7. Click Add a certificate or secret

8. Click New client secret

9. Add a description and select an expiration consistent with the policies of your organization

10. Click Add

11. Copy and save the Client Secret Value, you'll need this later for integration with Netography Fusion.

12. Go to Subscriptions and select your working subscription

13. Select Access control (IAM) from the sidebar

14. Click the Role assignments tab

15. Click Add then Add role assignment from the dropdown

16. Select Reader role.

17. Click Next

18. Click Select members

19. Search for the application name you created earlier in step 3 and select it

20. Click the Select button

21. Click Review + assign

Netography Fusion Configuration
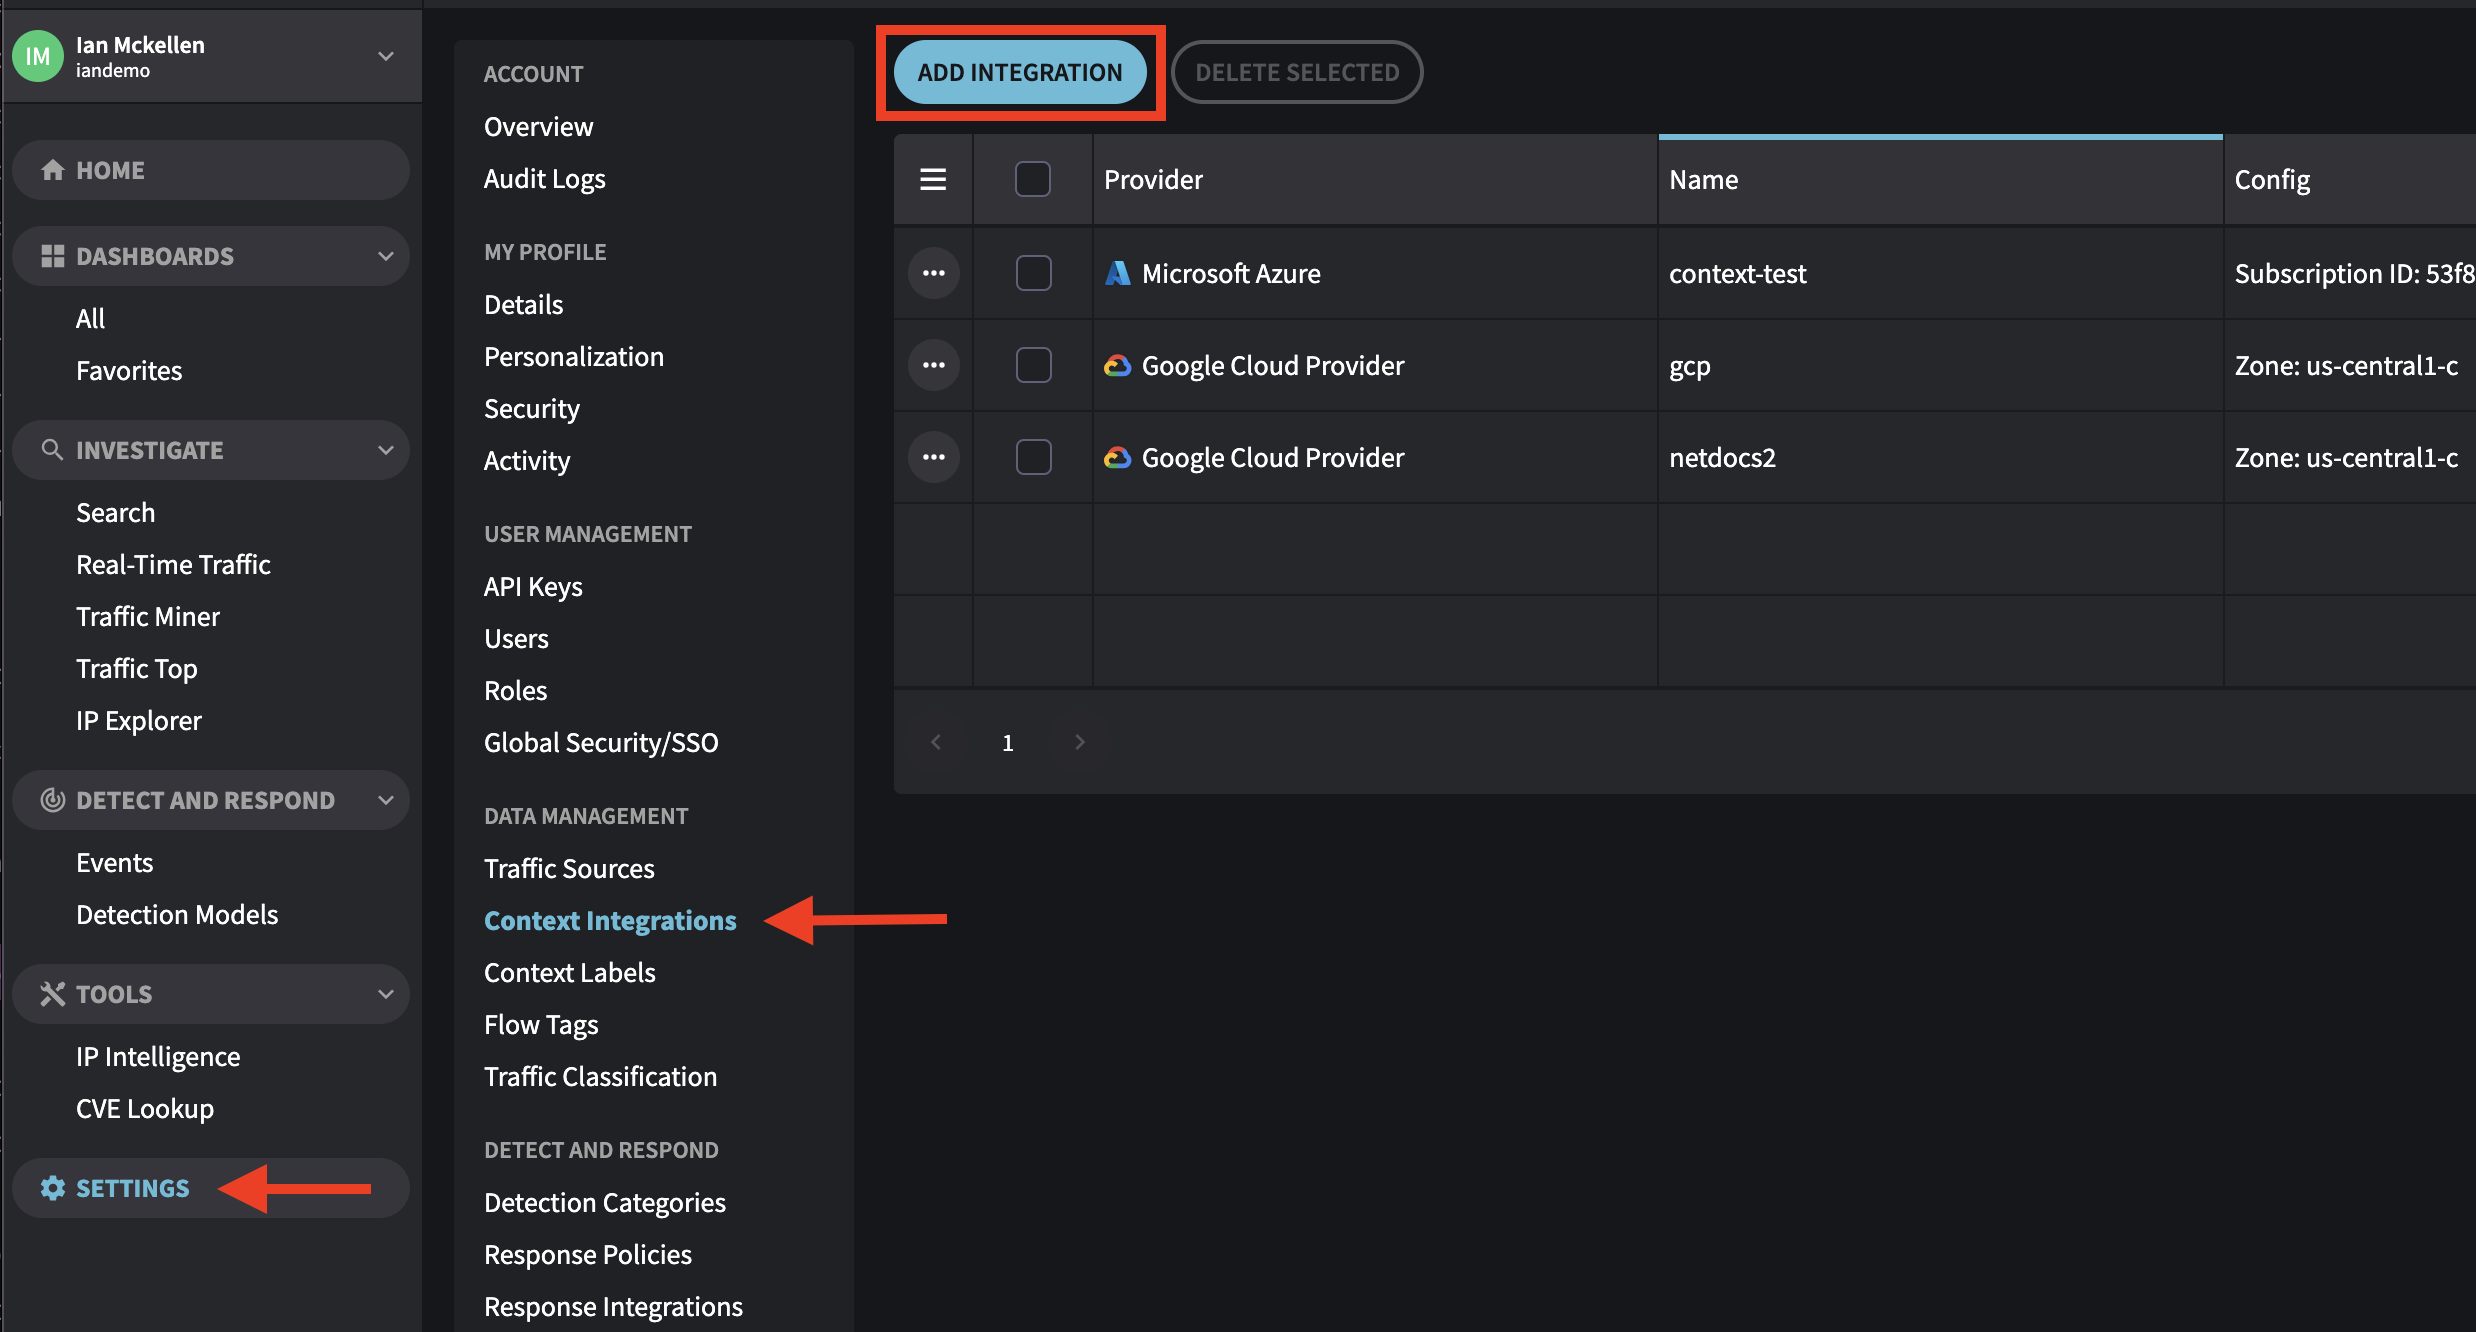
1. Navigate to Settings -> Context Integrations -> Add Integration

2. Select Microsoft Azure

3. Fill out the Azure Context Integration form:
Name: Use any name here.
Update Interval: Leave as default.
Auto Update: Leave enabled.
Subscription ID: The Subscription ID you used to complete the previous instructions in this document.
Tenant ID: Your Azure Tenant ID.
Tag/Label Matches: Leave as default unless you know how to use this feature.
Application Client ID: Paste in the "Applicant (client) ID" you copied from a previous step in this document.
Client Secret Value: Paste in the Client Secret Value you copied from a previous step in this document.
4. Click Create and Run
Updated 11 months ago
