This document provides instructions for configuring Google Cloud Provider (GCP) in order for the Netography Context Integration to have the correct access to pull label contexts.
Cloud Context Enrichment: Add a Context Integration vs. Deploying Cloud Function
AWS, Azure, and GCP have 2 options for how to enrich asset context.
Option 1: Add a context integration in Fusion Portal
You give permission in your cloud account(s) for Netography to read asset meta-data from it, and then add a context integration for that cloud account in Fusion to retrieve that information. After configuring permissions in your cloud, the configuration and data gathering occurs from the Netography Fusion SaaS to your cloud accounts. You will need to add and configure 1 context integration in Fusion per AWS account, Azure subscription, or GCP project.
Option 2: Deploy a cloud function with Netography's Cloud onboarding automation via Terraform
You deploy the Netography cloud onboarding automation using Terraform, which configures all the permissions required and creates a cloud function that runs within your cloud on a scheduled basis. That function gathers all the asset meta-data locally within your cloud, and then uploads the data via the Netography Fusion API. Netography never has any permission to directly access and read the asset meta-data in your cloud in this option. You can deploy this automation one time for each AWS organization, Azure tenant, or GCP organization, making it a more easily scalable solution for larger environments. For more details on this option, access Netography's Terraform automation at our GitHub repo: https://github.com/netography/neto-onboarding. For access to the repo, email your GitHub ID to [email protected].
GCP Configuration
1. Create a GCP service account
Before configuring the GCP Context Integration in Netography, you must create a service account in GCP following these steps. For more details, see GCP: Create service account.
a. Go to the Service Accounts page

b. Click Create Service Account and follow the steps in the wizard.

c. Create a service account name; your service account ID email address will be auto-created.

d. Click Select a role, use the Filter, type viewer into the filter, click Viewer to give this service account a Viewer role.

Leave the rest set as default.
2. Create your service account access keys and export a JSON file
a. Click : to access Actions for your newly created service account, then select Manage keys.

b. Click the Add Key menu and select Create new key

c. Choose JSON format. This will enable you to export a file that will automate context configuration in Netography Fusion and reduce setup to one step.
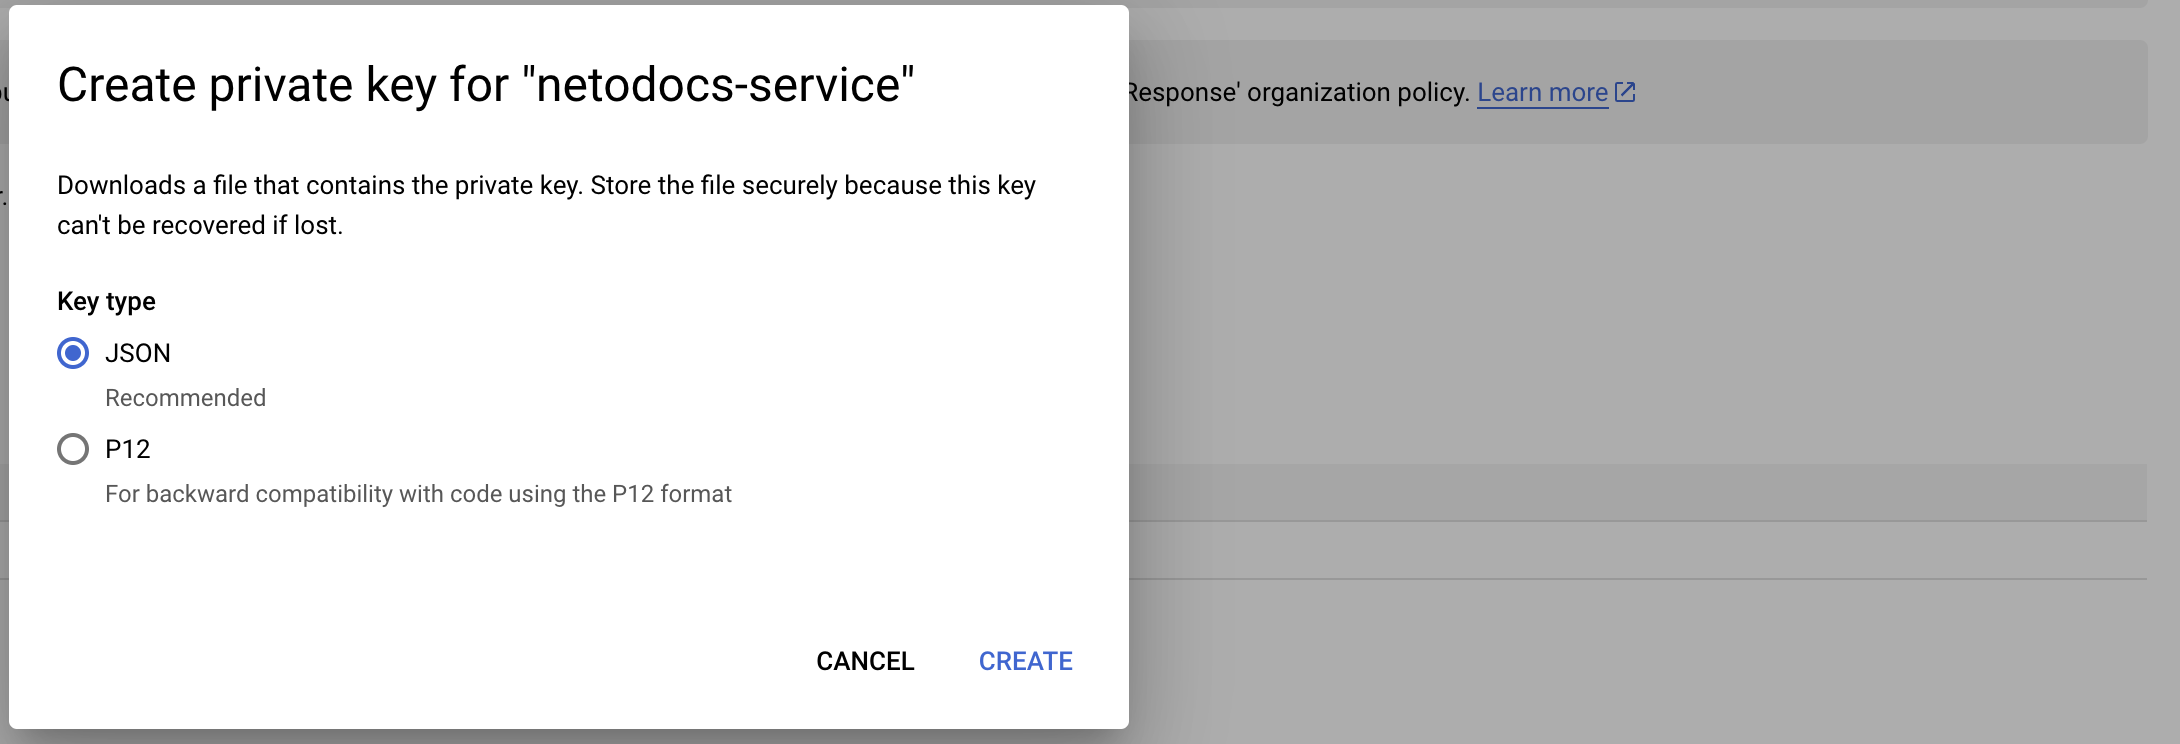
d. The JSON file containing your private key will be auto-downloaded to your computer; delete this file once you're done with it.

3. Create a new Context Integration in Netography Fusion and upload your JSON file.
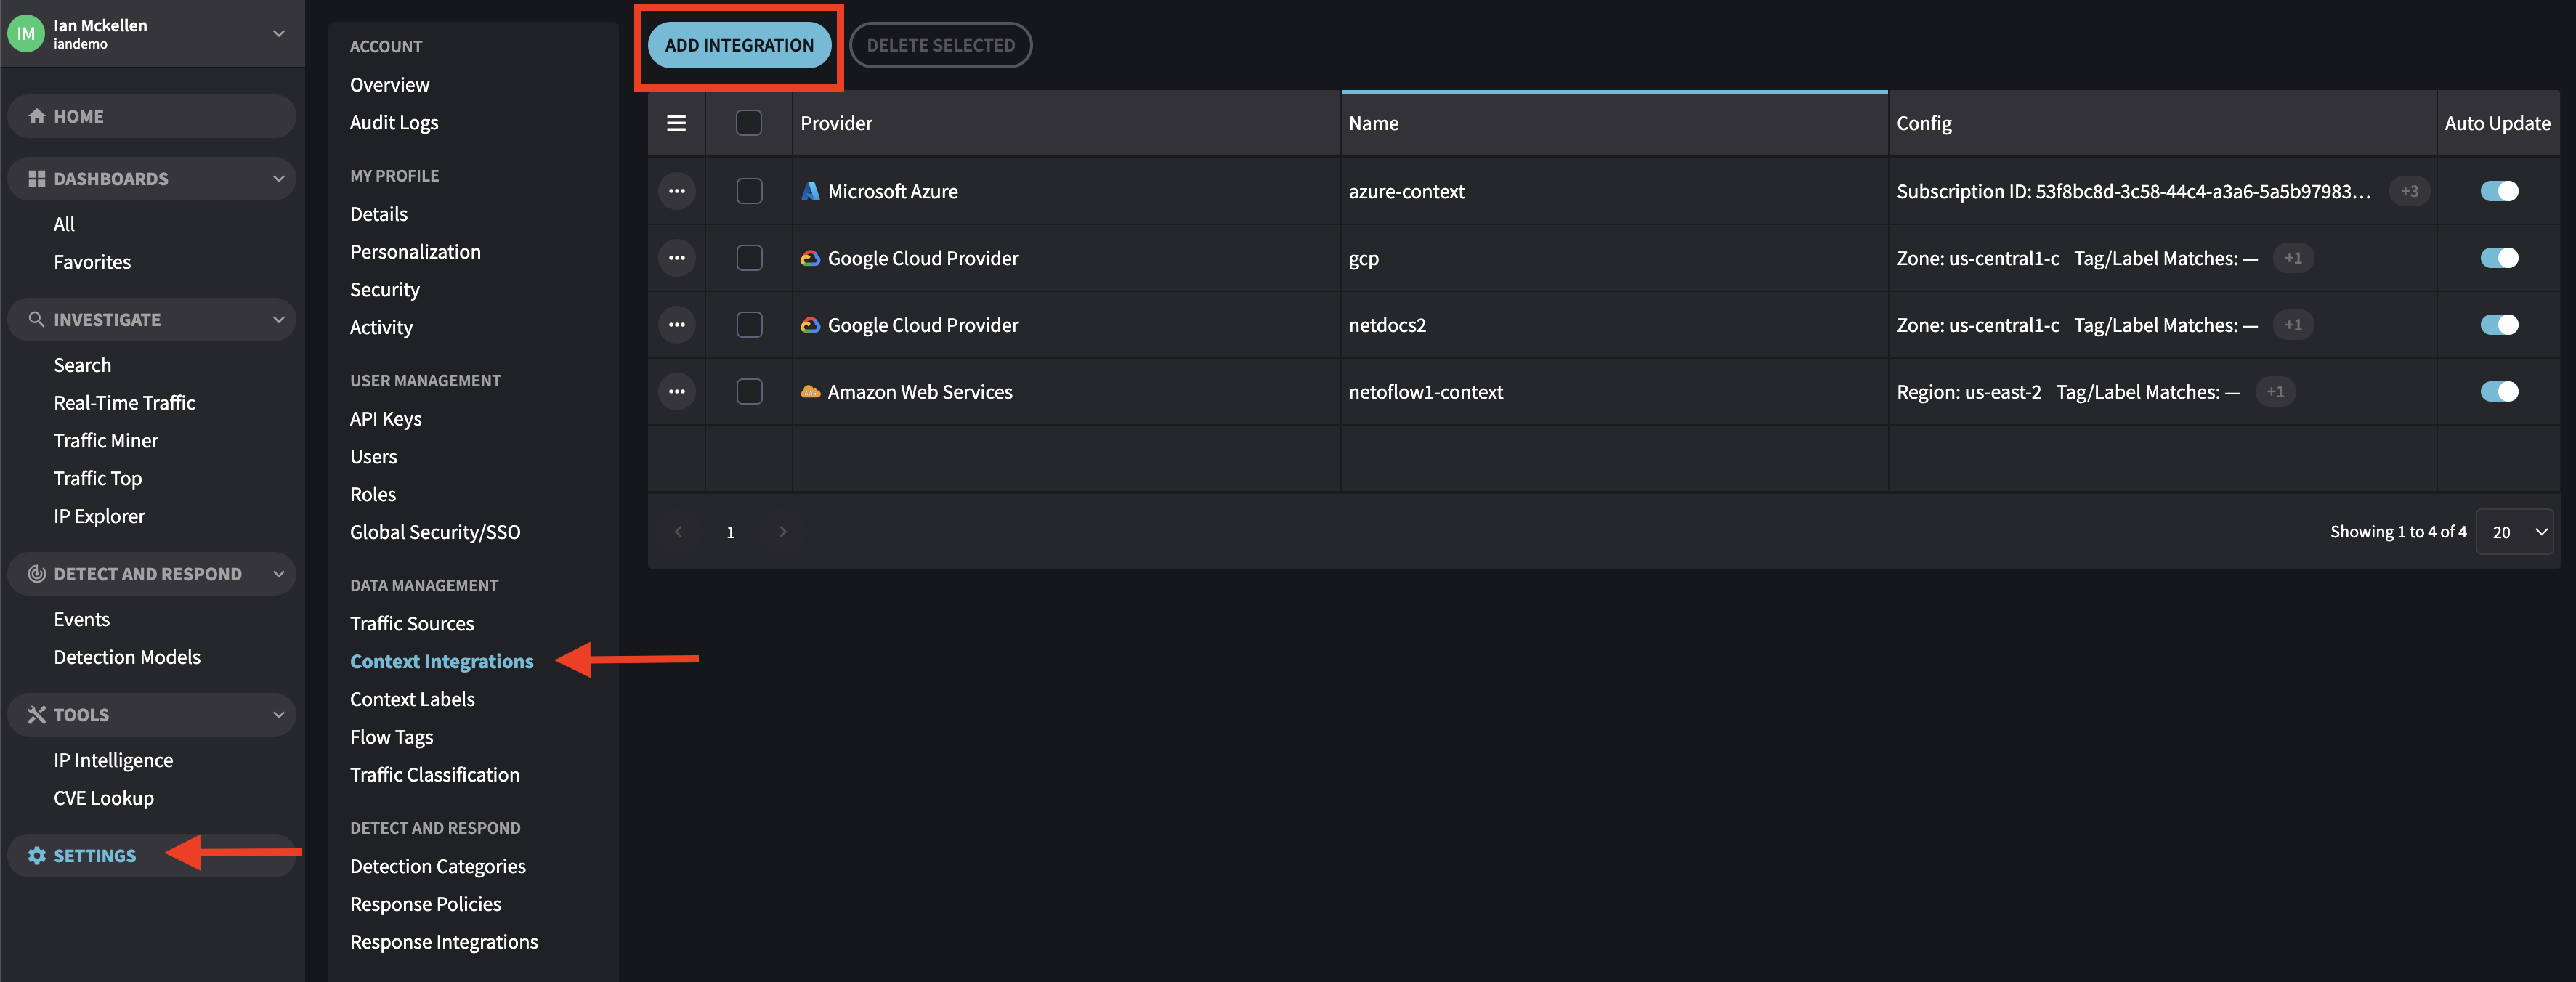
a. In the Fusion portal, select Settings > Context Integrations > Add Integration
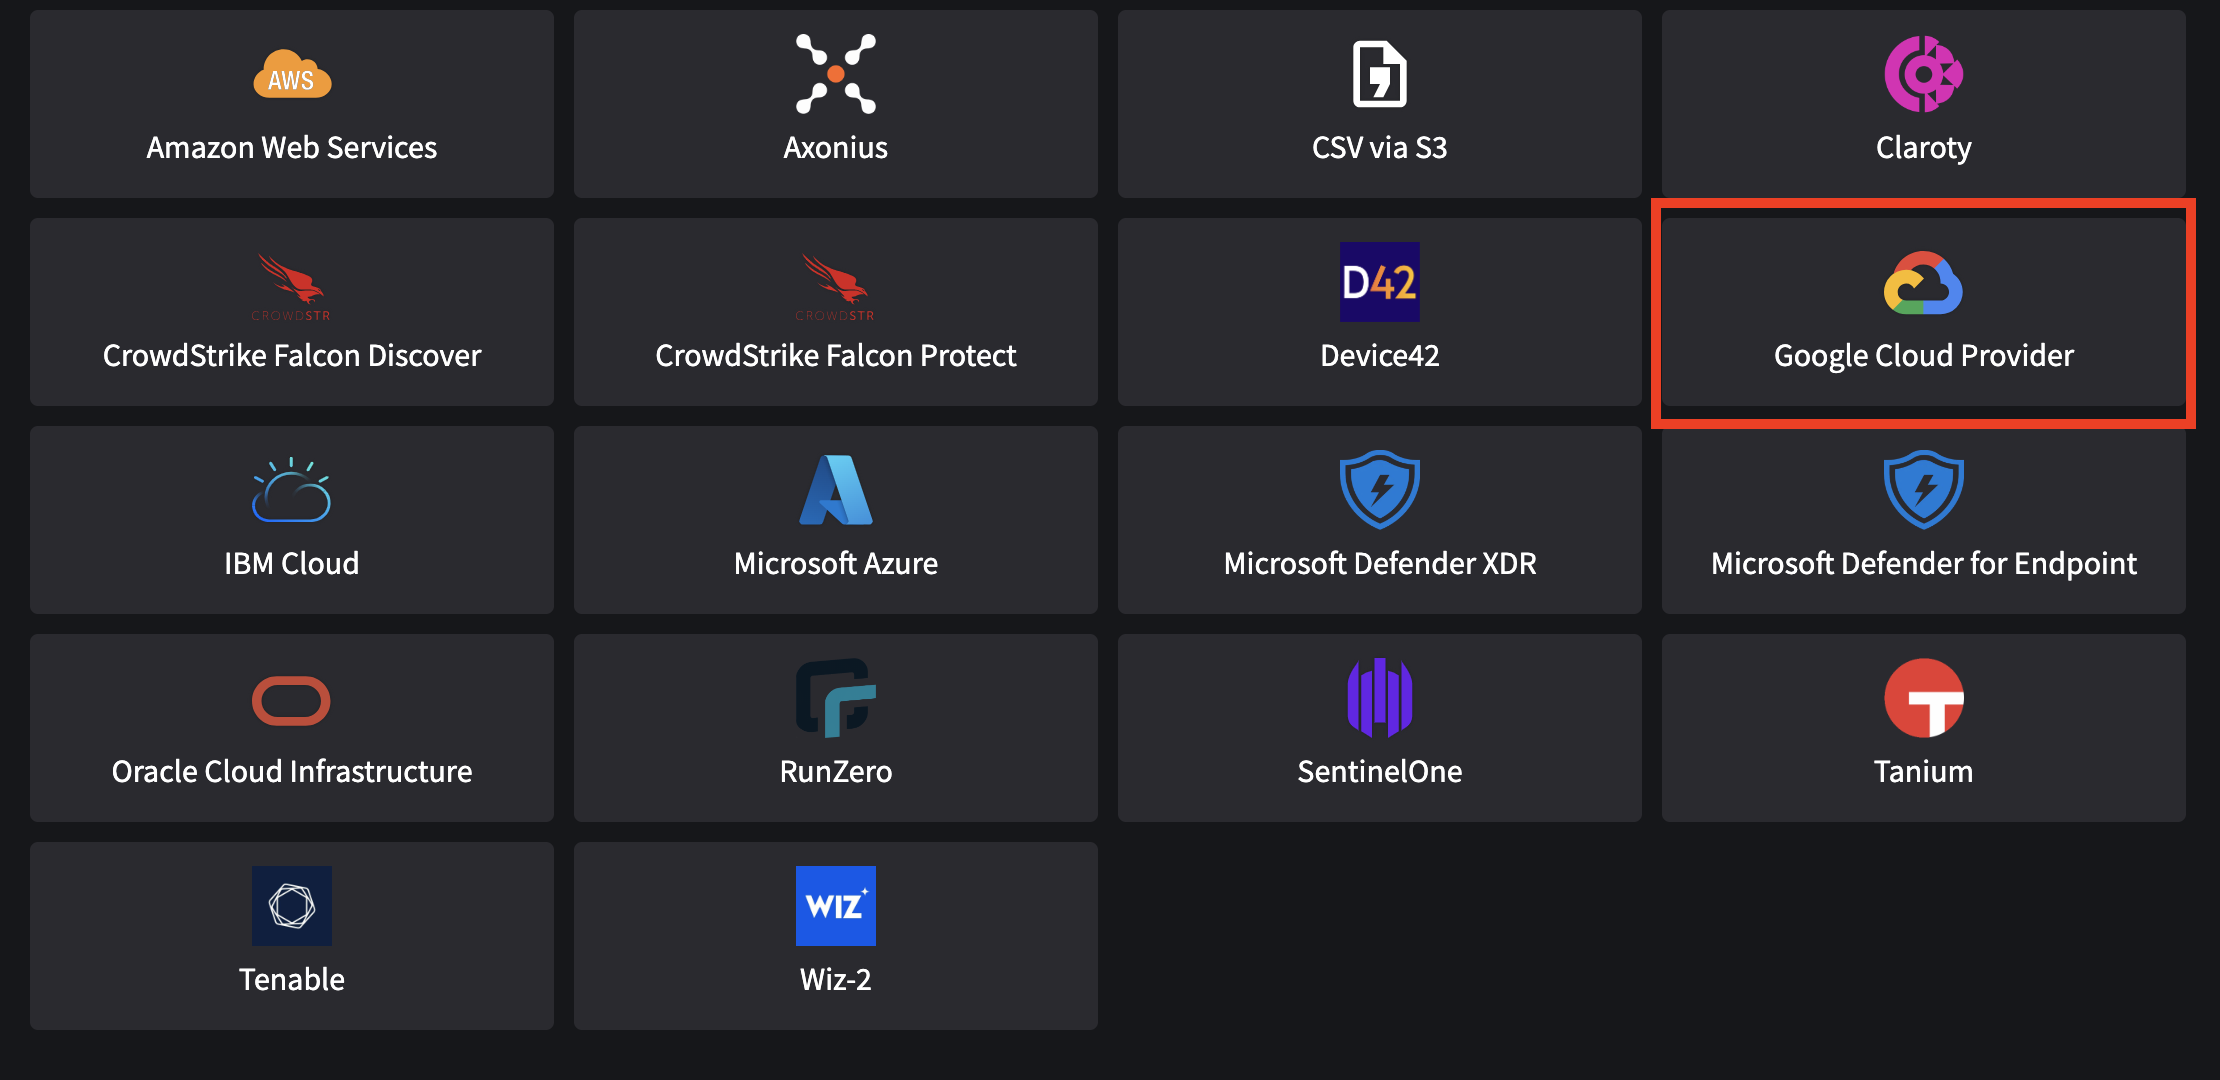
b. Select Google Cloud Platform
c. Use the "IMPORT FROM JSON" button to import the JSON file you exported from GCP.

d. Leave Zone blank to include all zones automatically.
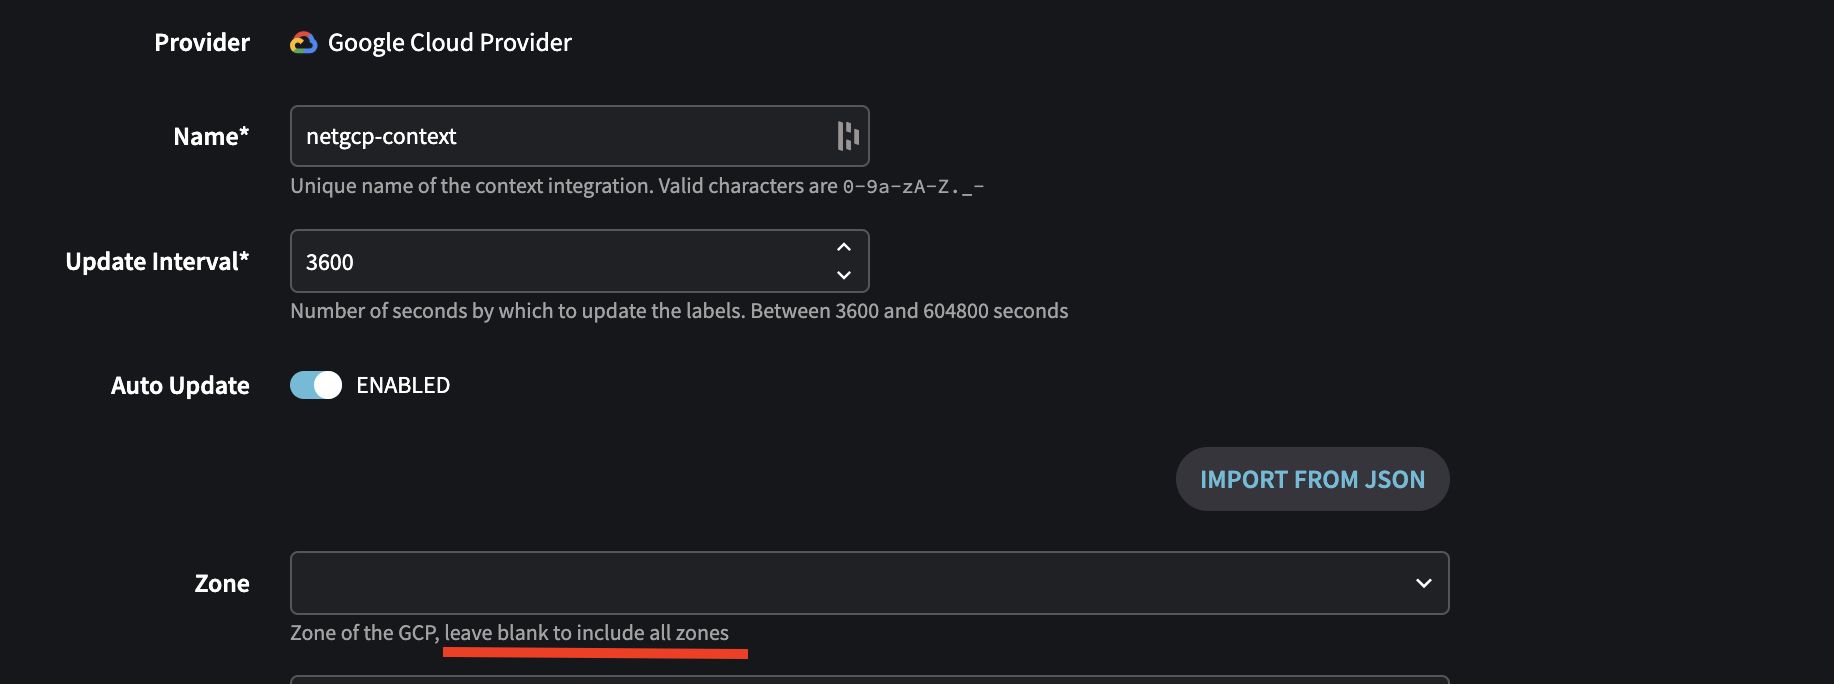
e. All fields will be auto-completed, and your private key will be imported.
f. Click Create and Run to save.

You're done!
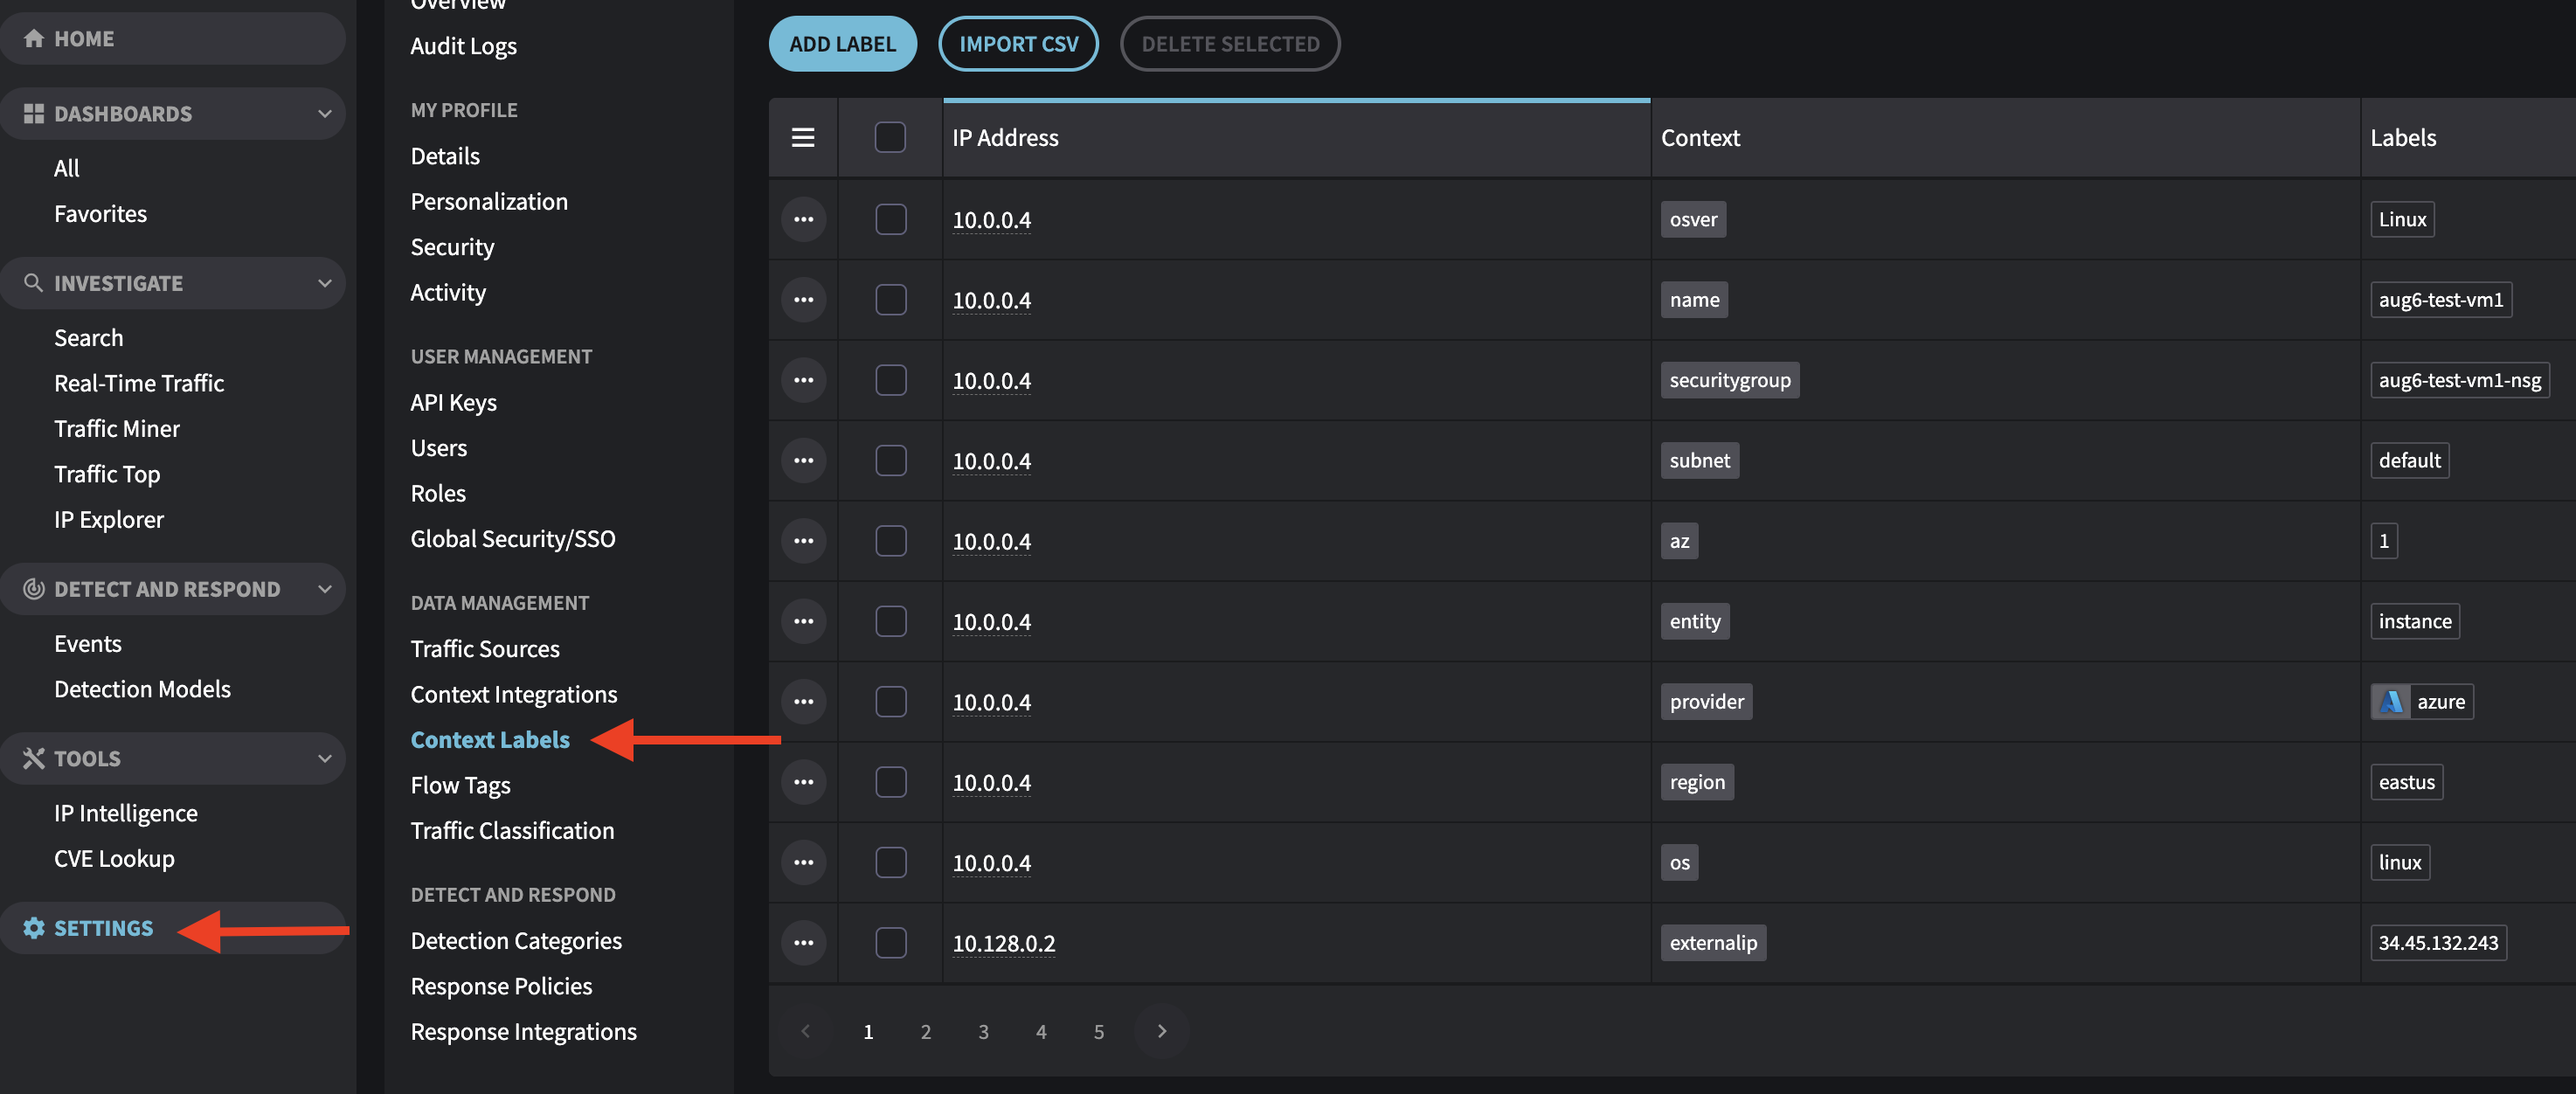
Check Context Labels to verify your context integration is working as expected.
Updated about 1 year ago
