Edit a Widget
Overview
This guide explains how to edit widgets in Fusion to better align with your data visualization needs. Editing a widget allows you to customize its appearance, data source, and settings, ensuring it delivers the most relevant insights for your dashboard.
By understanding how to edit widgets effectively, you can:
- Tailor widgets to highlight specific metrics or data points.
- Adjust visualizations to align with team or project goals.
- Ensure your dashboards remain dynamic and up-to-date.
Getting Here
To edit widgets embedded in a dashboard, use must first Edit the dashboard.
To reduce the risk of accidentally editing a dashboard, you can use the Open option instead of the Edit option described below.
Changes made to dashboards in edit mode take effect immediately. There is no SAVE button or UNDO option.
To edit a dashboard, use the following steps.
- From the main menu, navigate to Dashboards > All.
- Click the row options icon at the beginning of the row that includes the custom dashboard.
- Click Edit.
At the top of the page, an unlock button displays, indicating the dashboard is in Edit mode. You can click this button to exit edit mode.
Edit a Widget
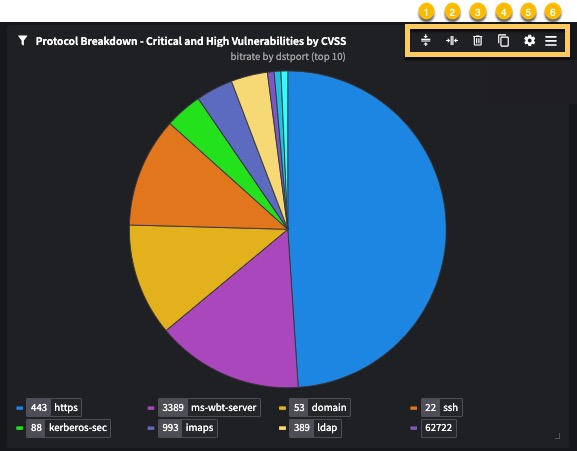
To edit a widget, hover over the right corner of the widget container; a menu of icons appears.
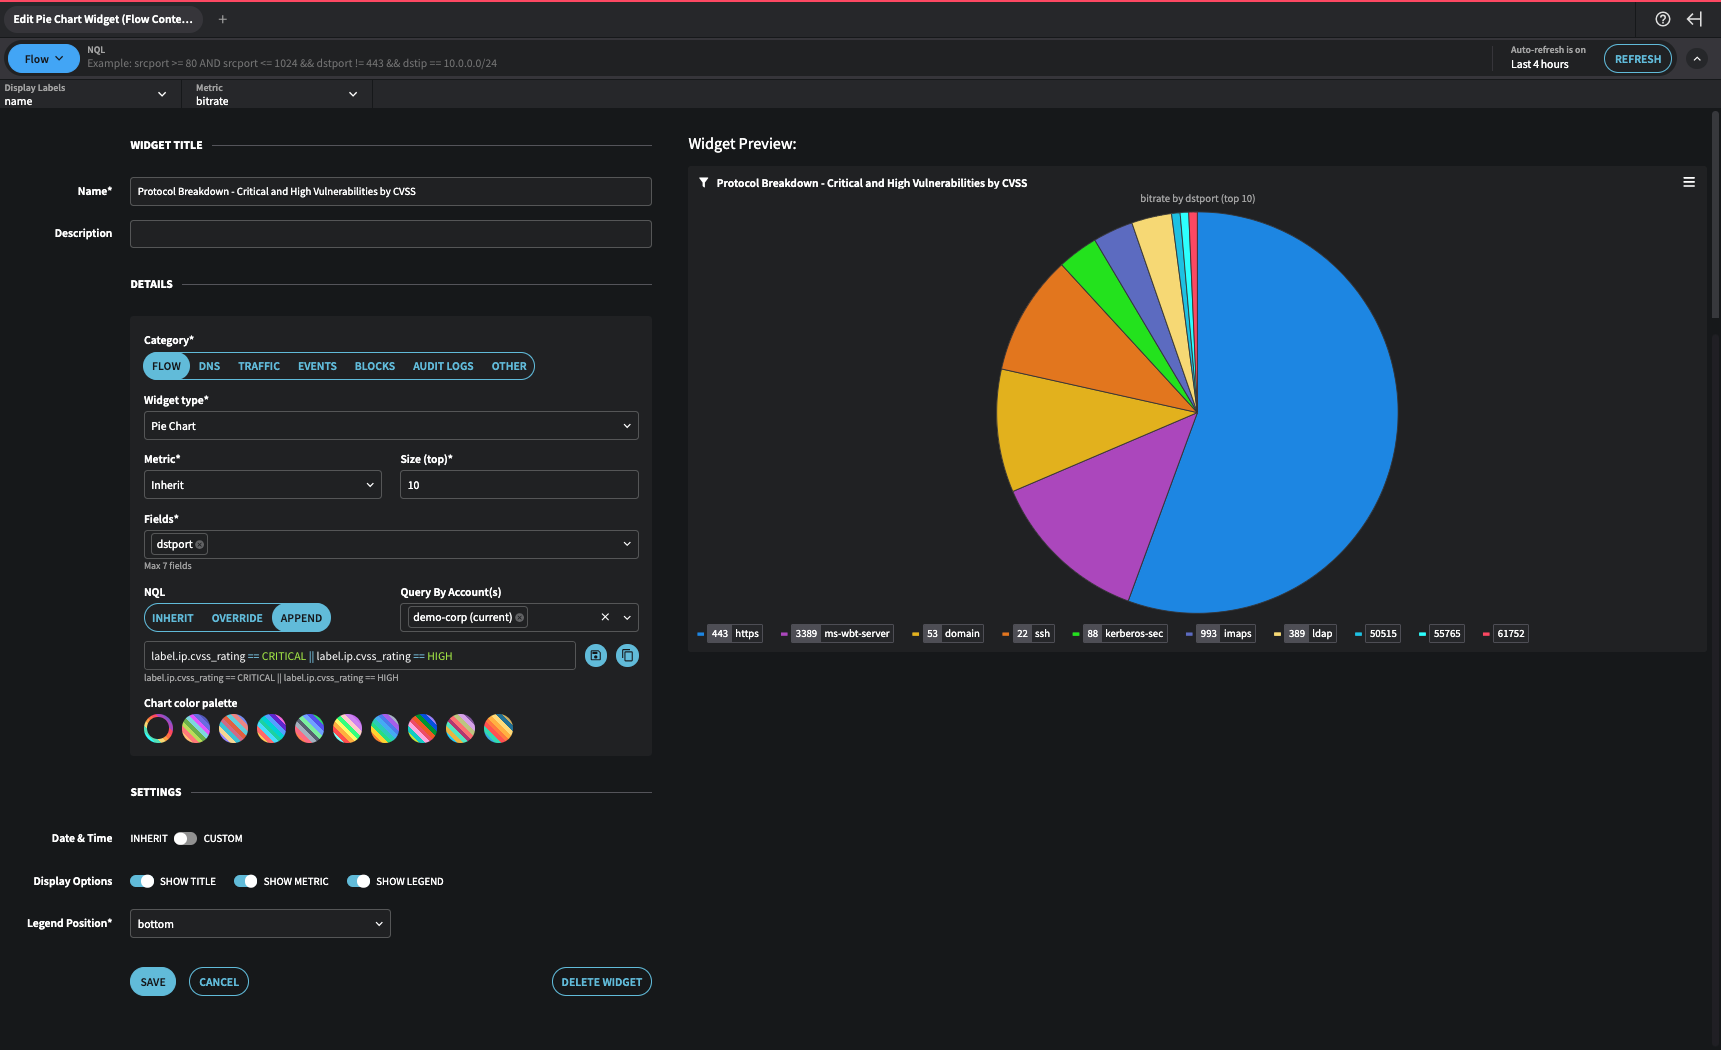
The gear (5) ( ) icon link to the Widget Settings page and the widget's current configuration settings.

In this example widget, the widget's settings display in the image below.

Make changes to the options, and then click SAVE, or click CANCEL.
Updated 11 months ago
