Add Response Policies
Follow the steps below to create a new Response Policy in the Netography Fusion Platform portal:
-
Navigate to the Response Policies screen: Go to the DETECTION & RESPONSE section in the left-hand Portal menu, then select the Response Policies option.
-
Create a new Response Policy: Click the ADD RESPONSE POLICY button on the top right corner of the Response Policies screen.
-
Configure the new policy: On the next screen, fill in the following configuration options:
- Policy Name: Enter a unique and descriptive name for the Response Policy (required).
- Enabled: Check the box to enable the policy, or leave it unchecked to disable it.
- Description: Provide an optional description to give more context about the policy.
- Detection Categories: Select one or more Detection Categories from the dropdown menu to define the scope of the policy.
- Detection Models: Choose one or more Detection Models from the dropdown menu to further refine the policy's focus.
- Track By: Select a tracking option from the dropdown menu to determine how the policy tracks affected objects.
- Integrations: Choose one or more integrations from the dropdown menu to define how the policy interacts with external tools or platforms.
- Severities: Check the boxes for "High," "Medium," and/or "Low" to define the severity levels the policy should respond to.
- Alert Types: Check the applicable Alert Types: "START," "ONGOING," and/or "END."
-
Save the new policy: After configuring the policy settings, click the CREATE button to save the new Response Policy.
The new policy will now be added to the list of available Response Policies and can be used to automate actions in response to alerts generated by Detection Models.
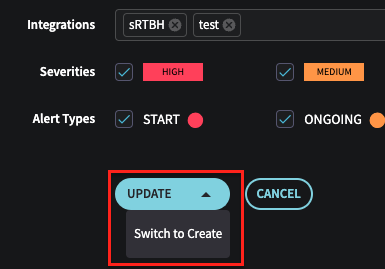
You can also edit current Response Policies or toggle the Update dropdown to 'Create' on the ellipsis option when selecting a Response Policy entry row

Updated 7 months ago
