Adding DNS as a Traffic Source
1. Enable DNS logging
Before you can start, you need to use DNS policies to enable logging for your networks.
When you enable query logging, every DNS query to a Cloud DNS private managed zone is logged, see more on this topic from GCP's own documentation.
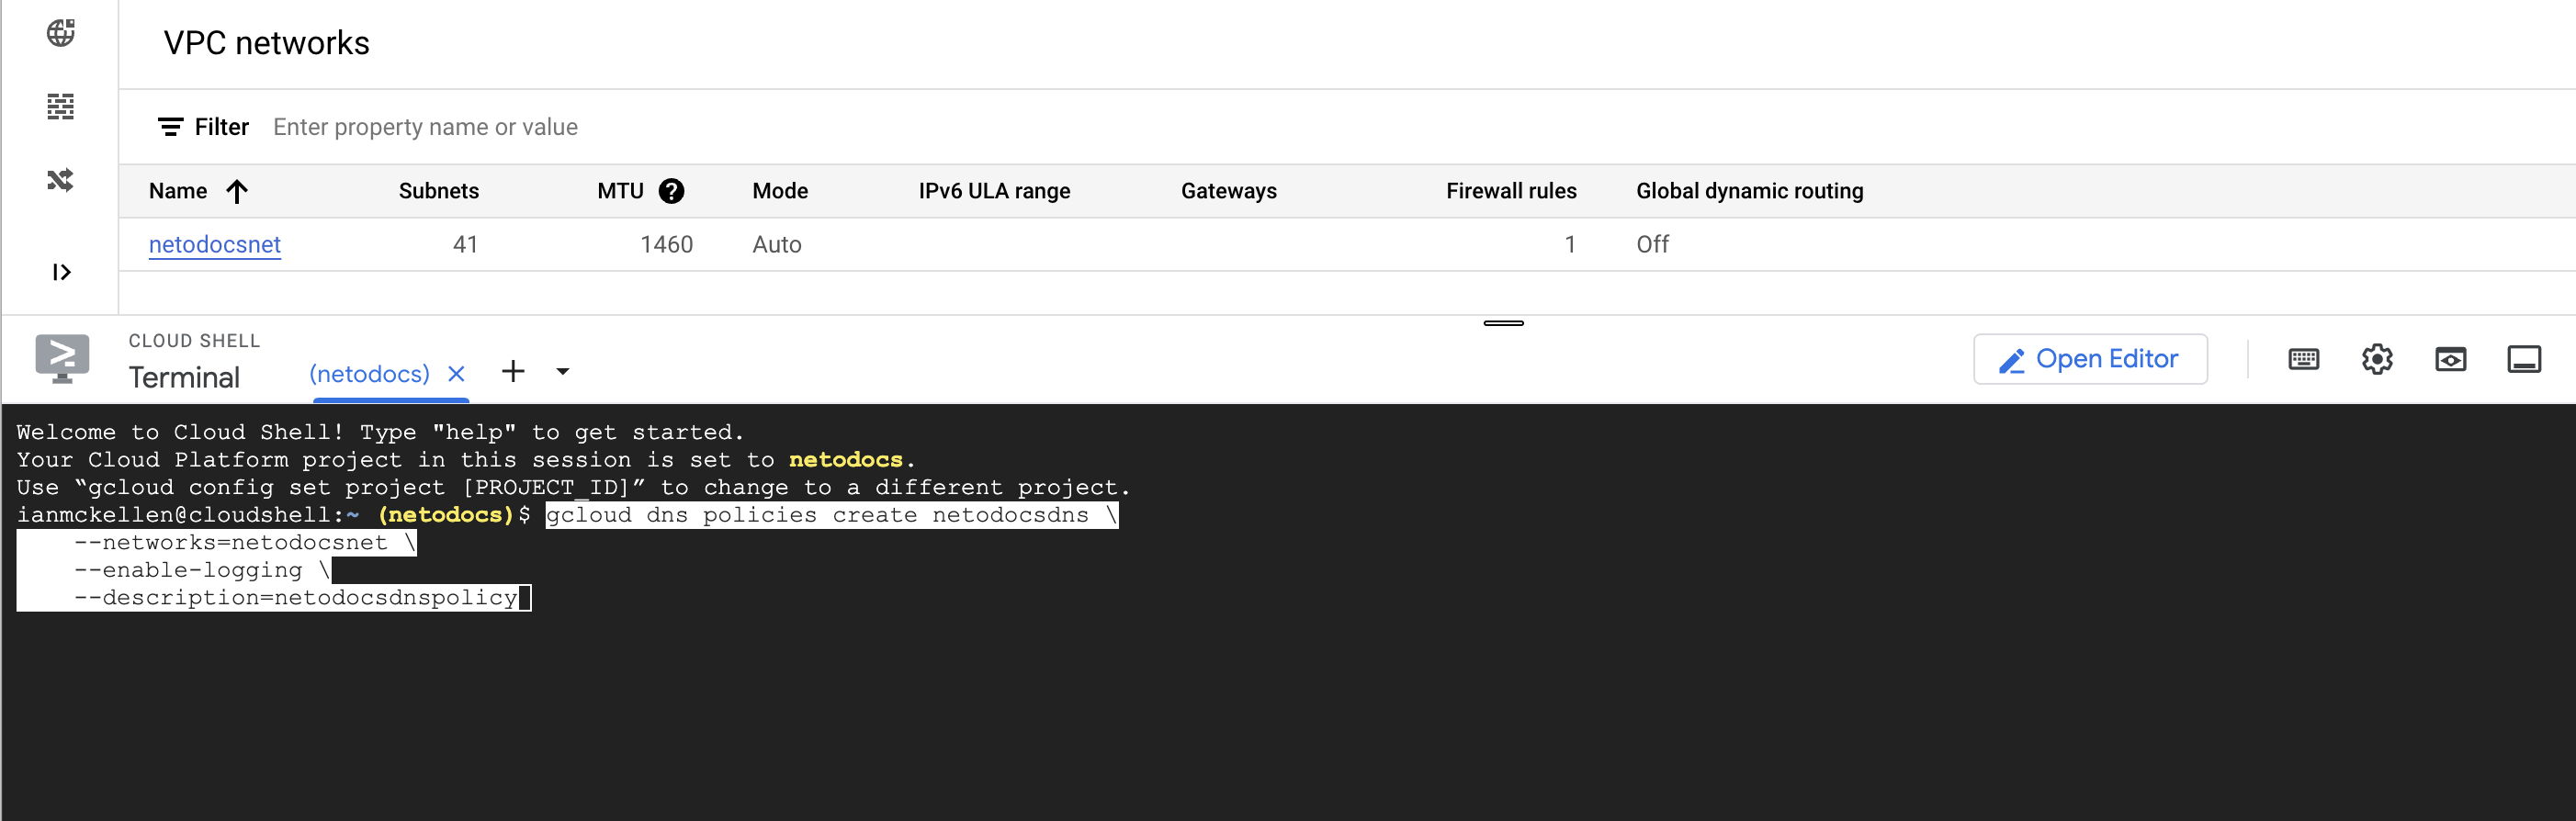
To enable logging for a network that does not have a DNS policy, you'll need to run the dns policies create command using the GCP Cloud Shell terminal.
- Click the icon in the upper right to open GCP Cloud Shell in your web browser.

- Copy the following command and edit it, changing
netodocsdnsto your own preferred policy name, andnetodocsnetto the name of your network you want to enable DNS logging on.
gcloud dns policies create netodocsdns \
    --networks=netodocsnet \
    --enable-logging \
    --description=netodocsdnspolicy
- Paste the command into Cloud Shell and hit enter
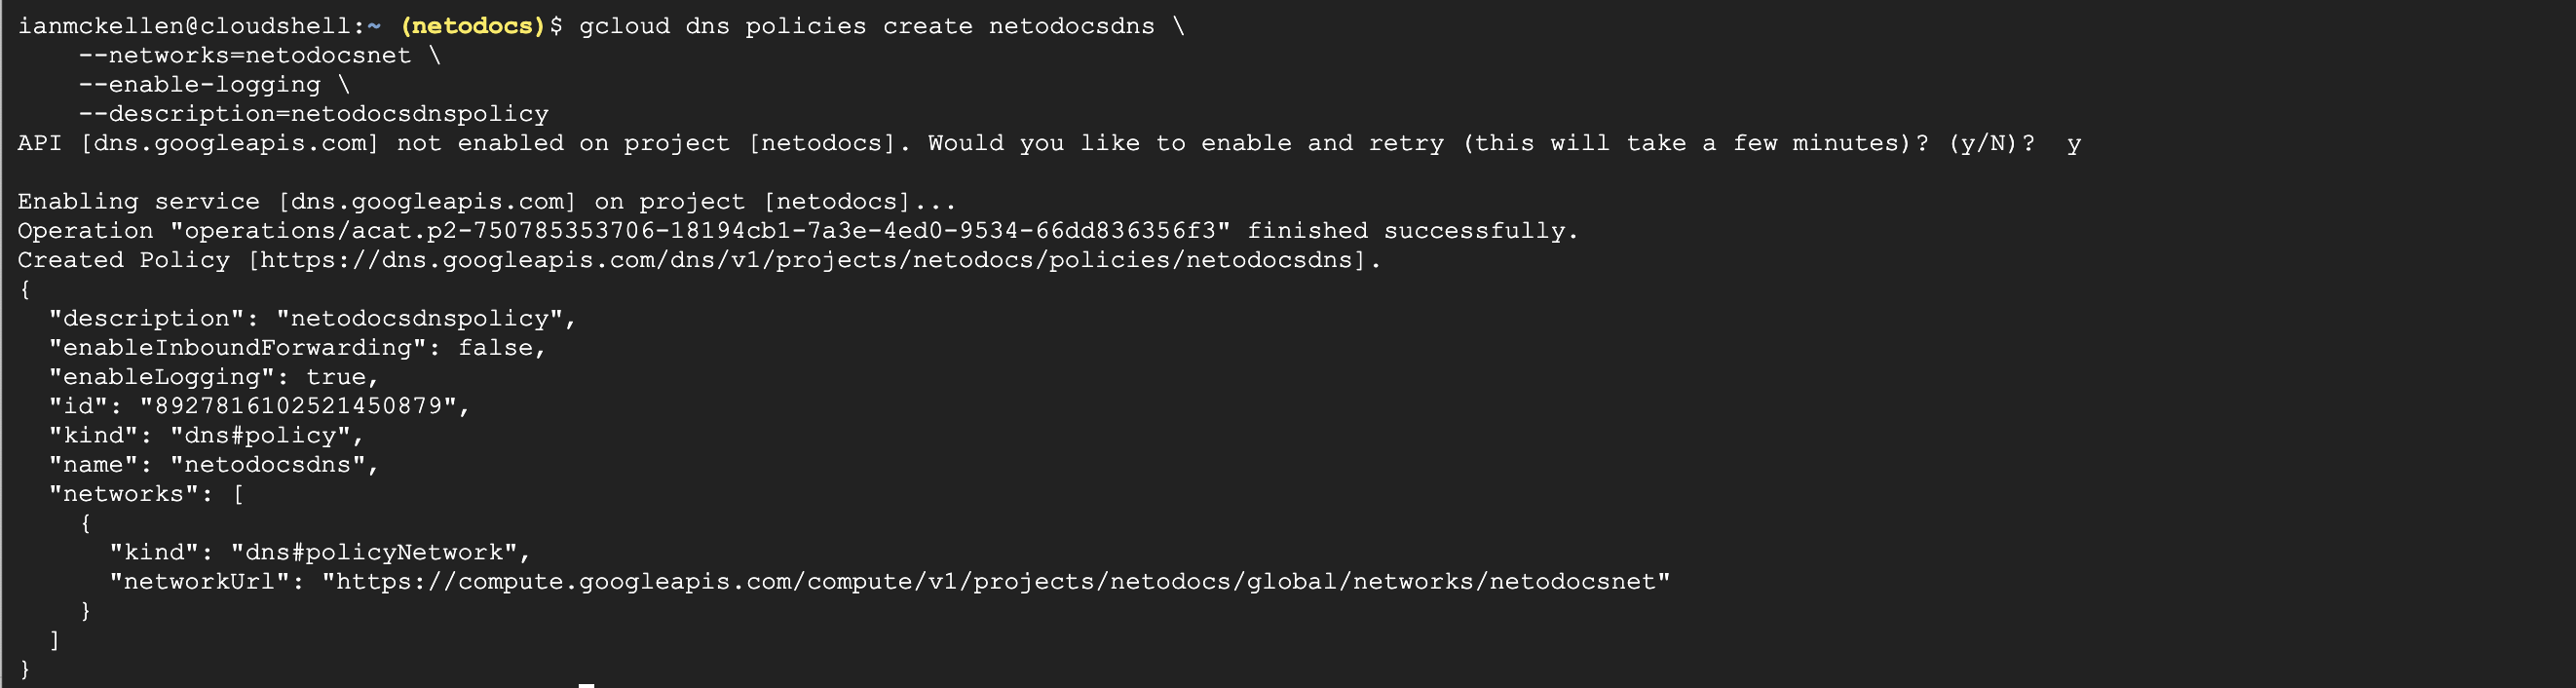
- you may see this question: API [dns.googleapis.com] not enabled on project [netodocs]. Would you like to enable and retry (this will take a few minutes)? (y/N)?, just hit Y here.
- When the command has completed successfully and DNS logging is enabled, you should see something like the following:
Troubleshooting steps
2. Create a sink
- Go to Log router

- Click Create sink

- Give your sink any name in step 1, for Sink destination in step 2, Select sink service Cloud Pub/Sub topic and select Create a topic
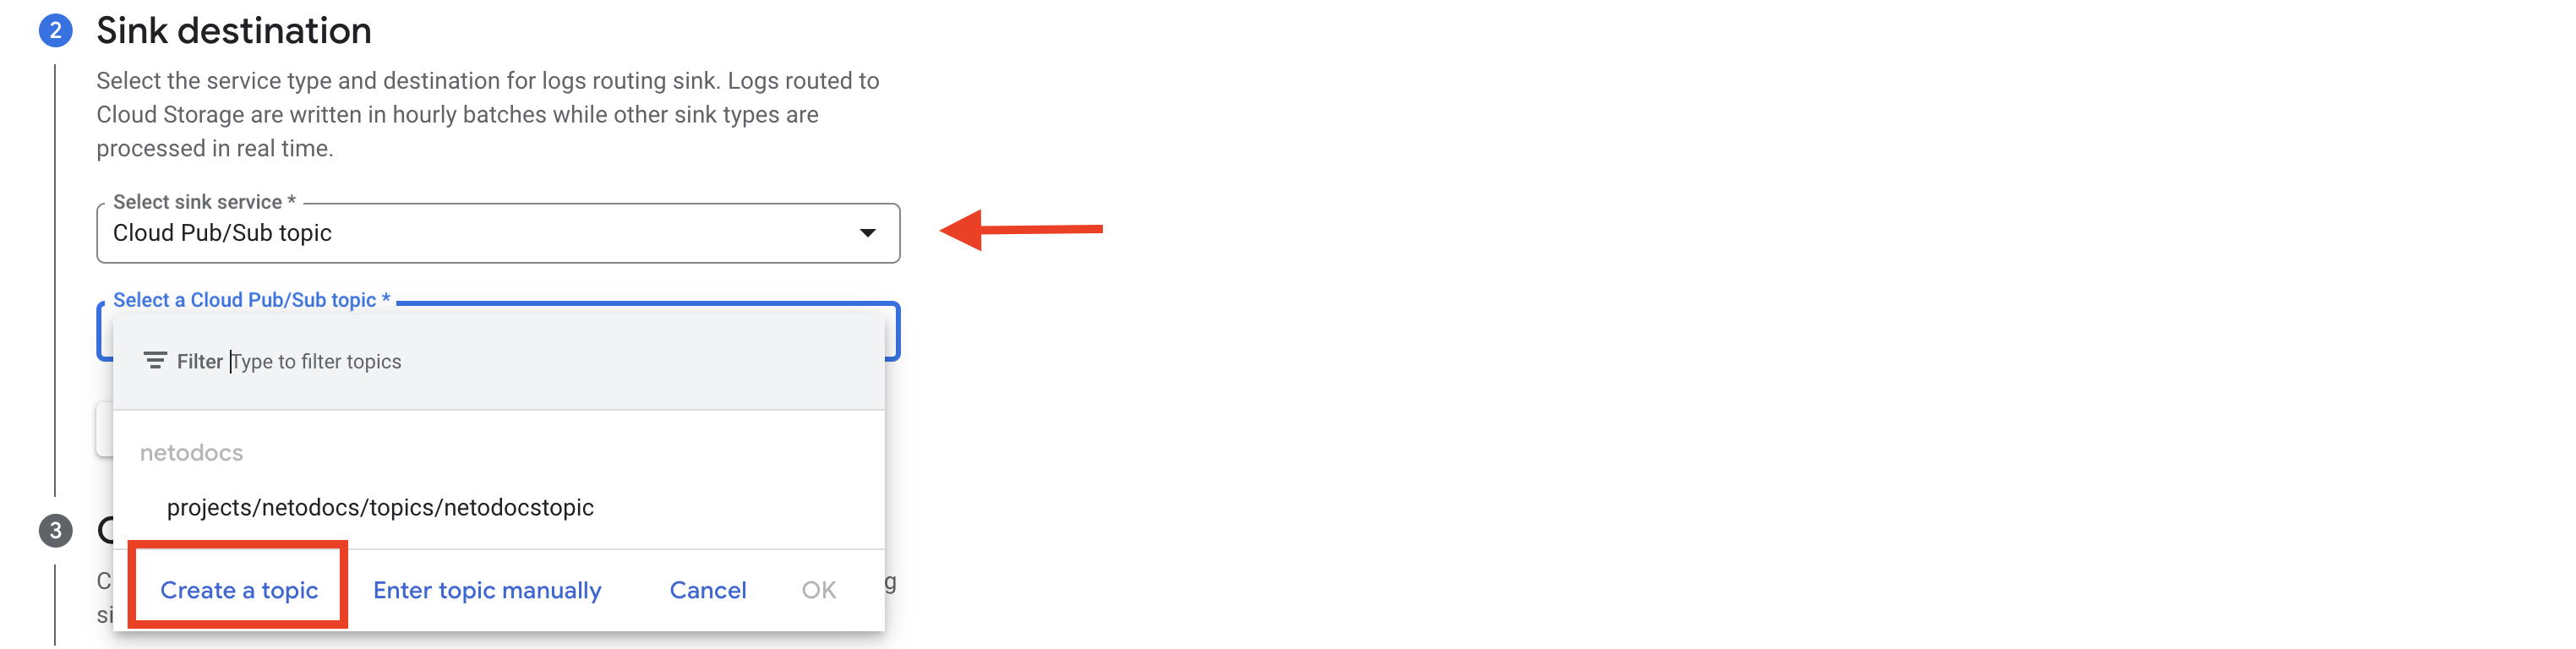
Taking a brief detour to create a new topic for DNS inside of the Sink destination wizard
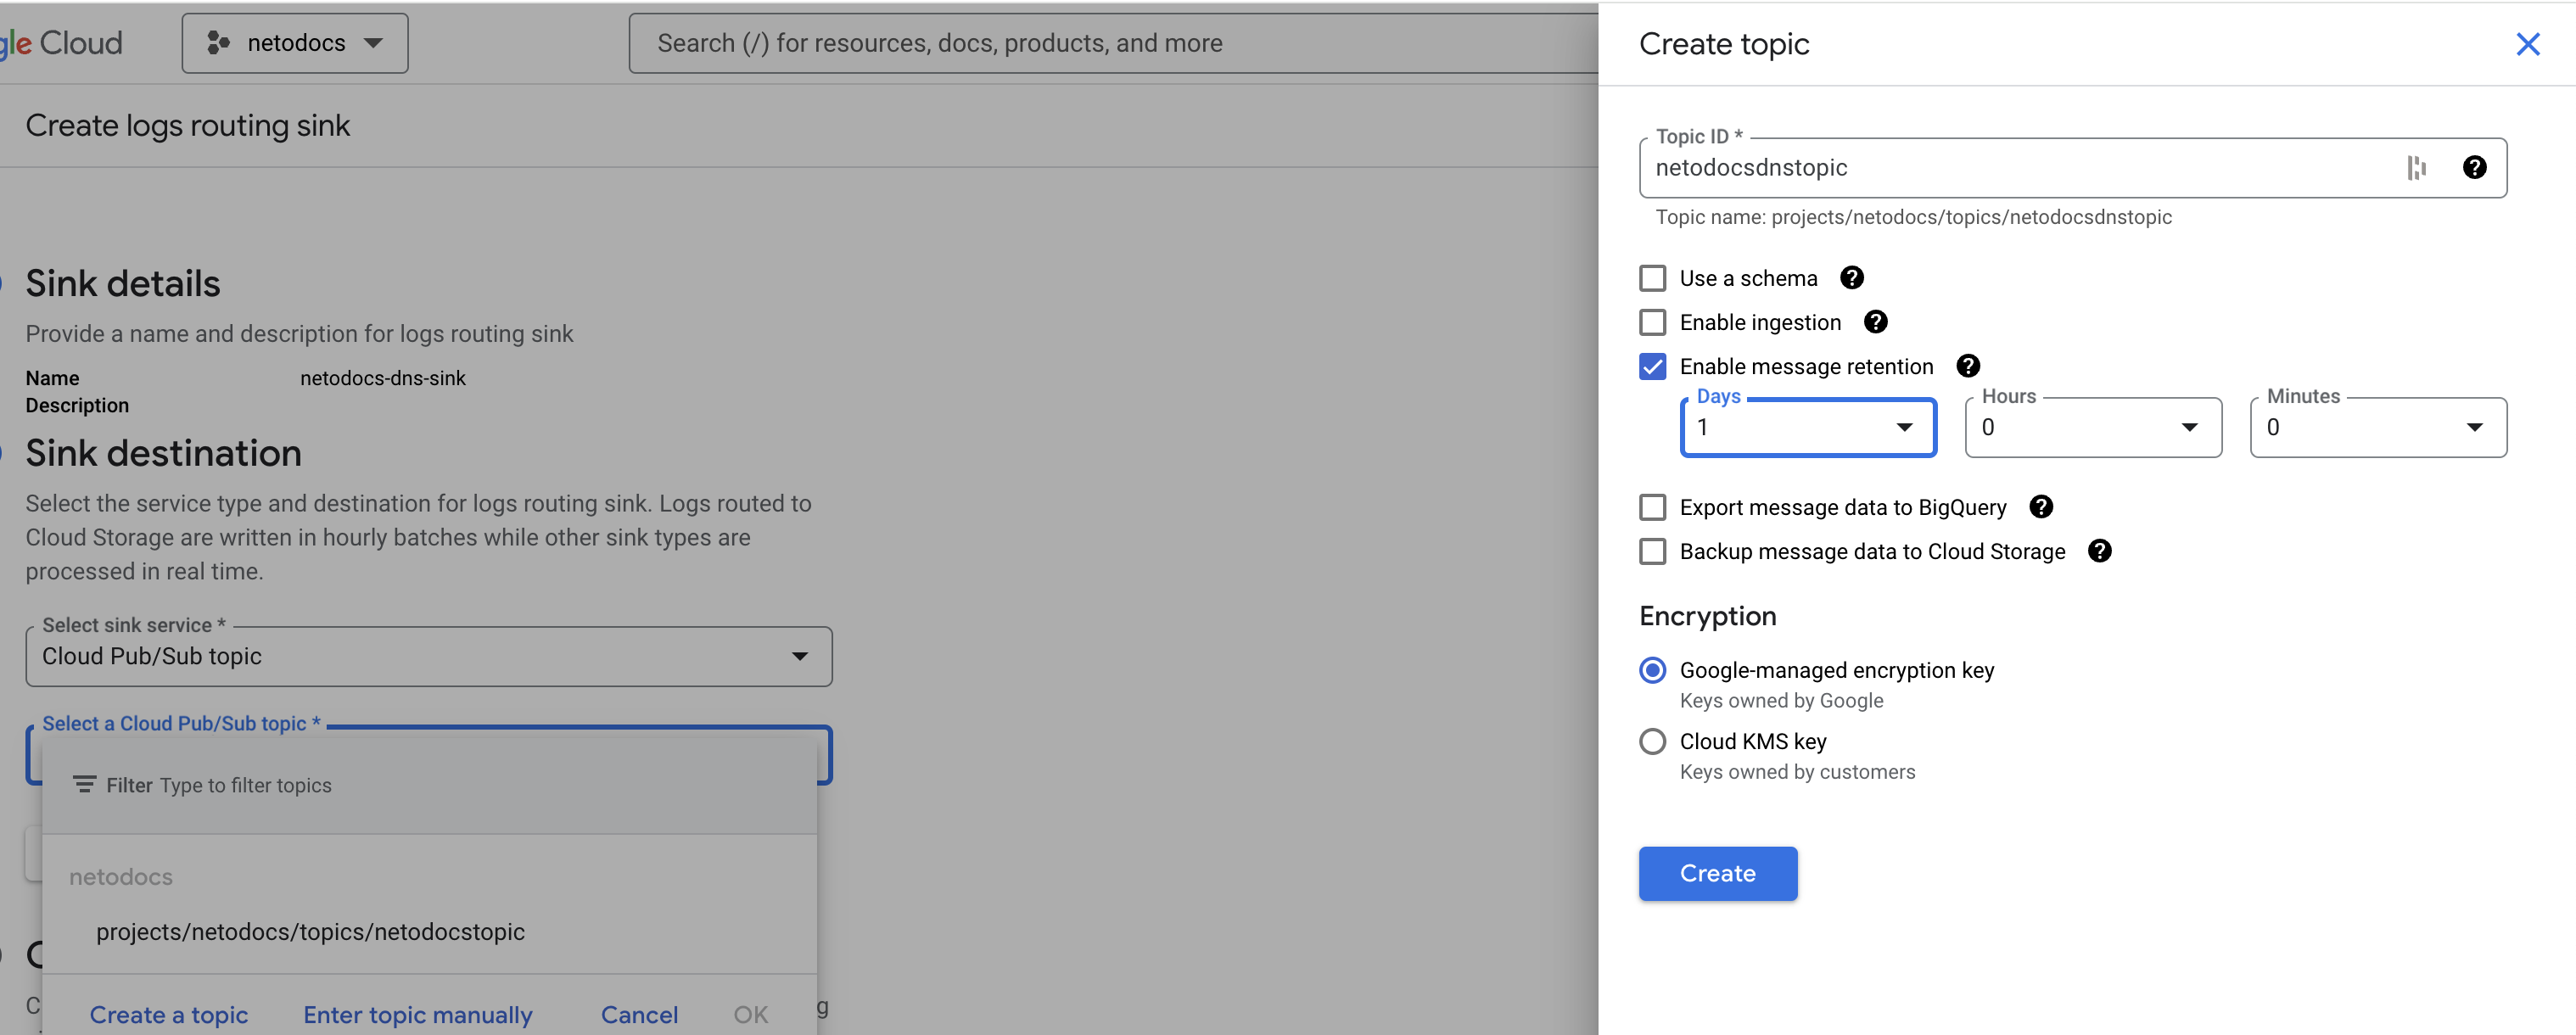
- Give your new topic any name, enable message retention and set it to 1 day, leave everything else set as default, and click Create.
Add a filter to include DNS logs in the sink
Now that our new topic has been created, we're back in the Sink creation wizard.
- You need to add Cloud DNS logs to the sink by using an inclusion filter of
resource.type="dns_query"
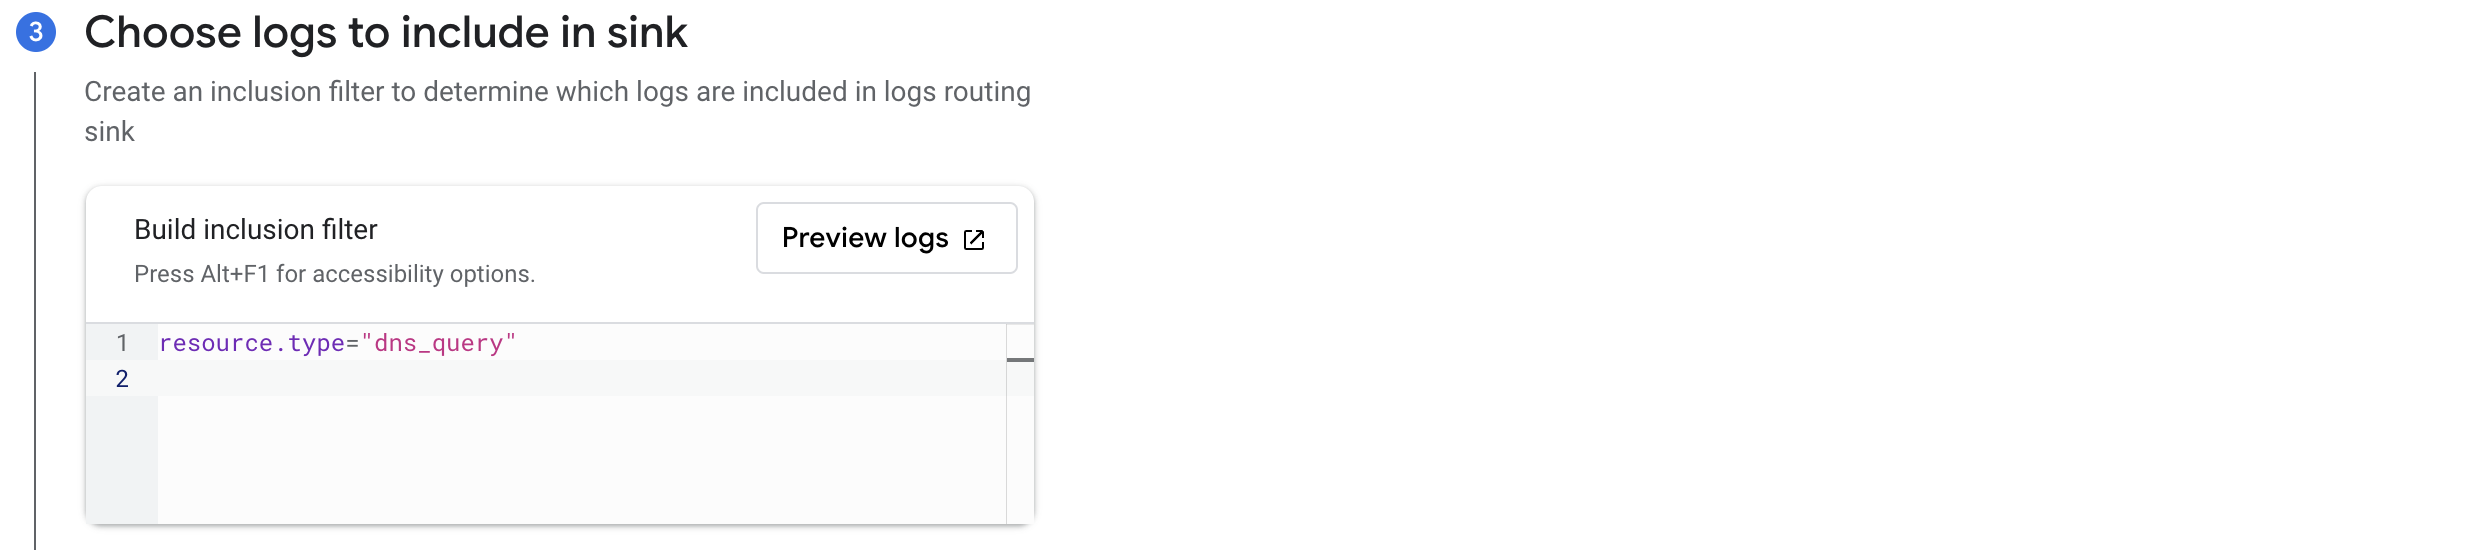
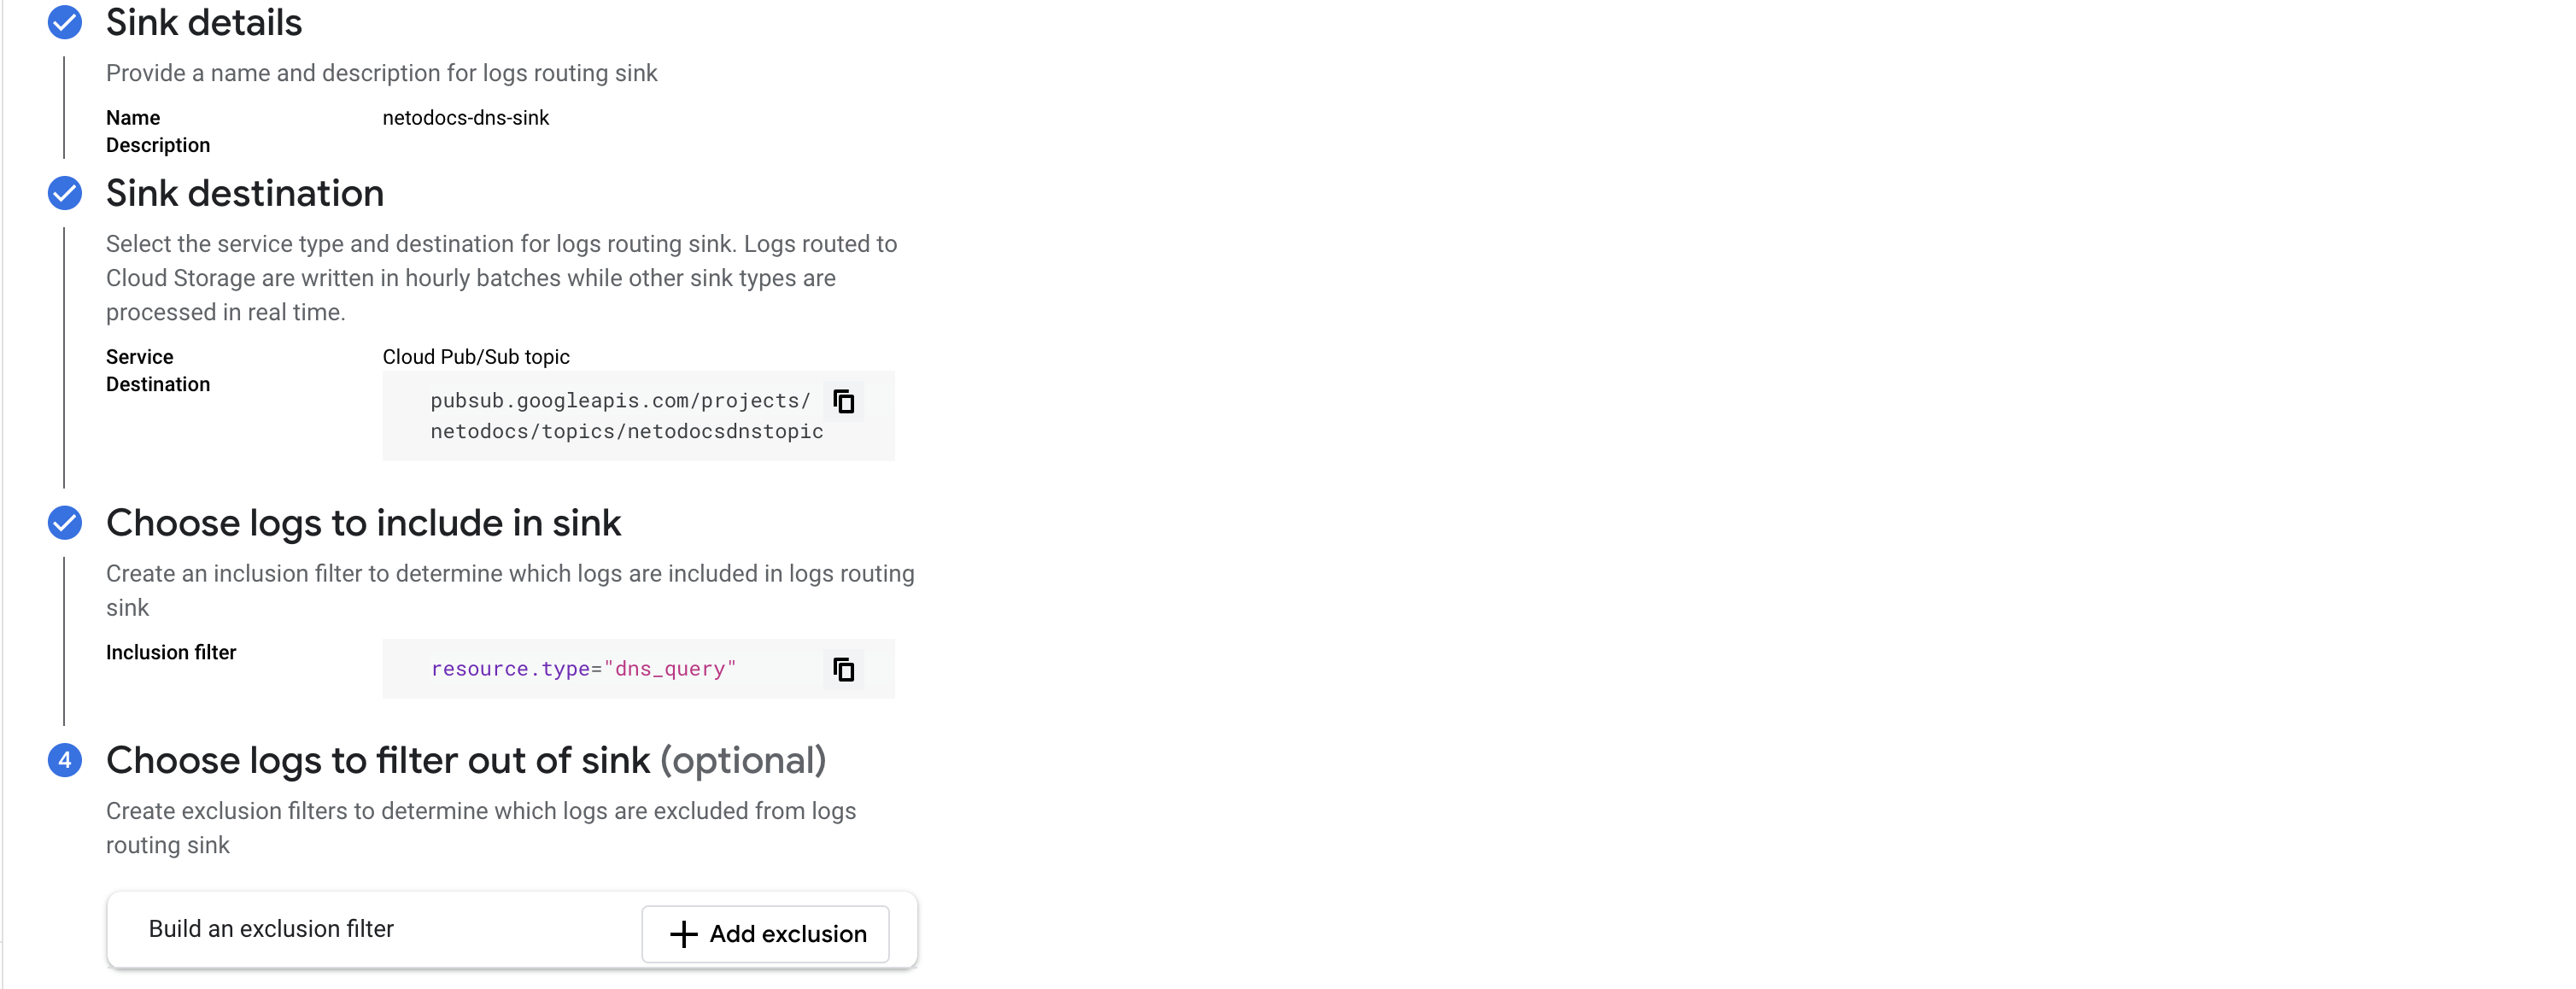
- This is how your finalized wizard should look when you're ready to click Create Sink, including your newly created topic, and a successfully saved inclusion filter.
3. Create a Pub/Sub Pull Subscription to the new DNS topic
- Go to topics

- Find your DNS topic you created in a previous step, click the : to access Actions, and click Create subscription

- Give your subscription any name, and set the Delivery type to Pull
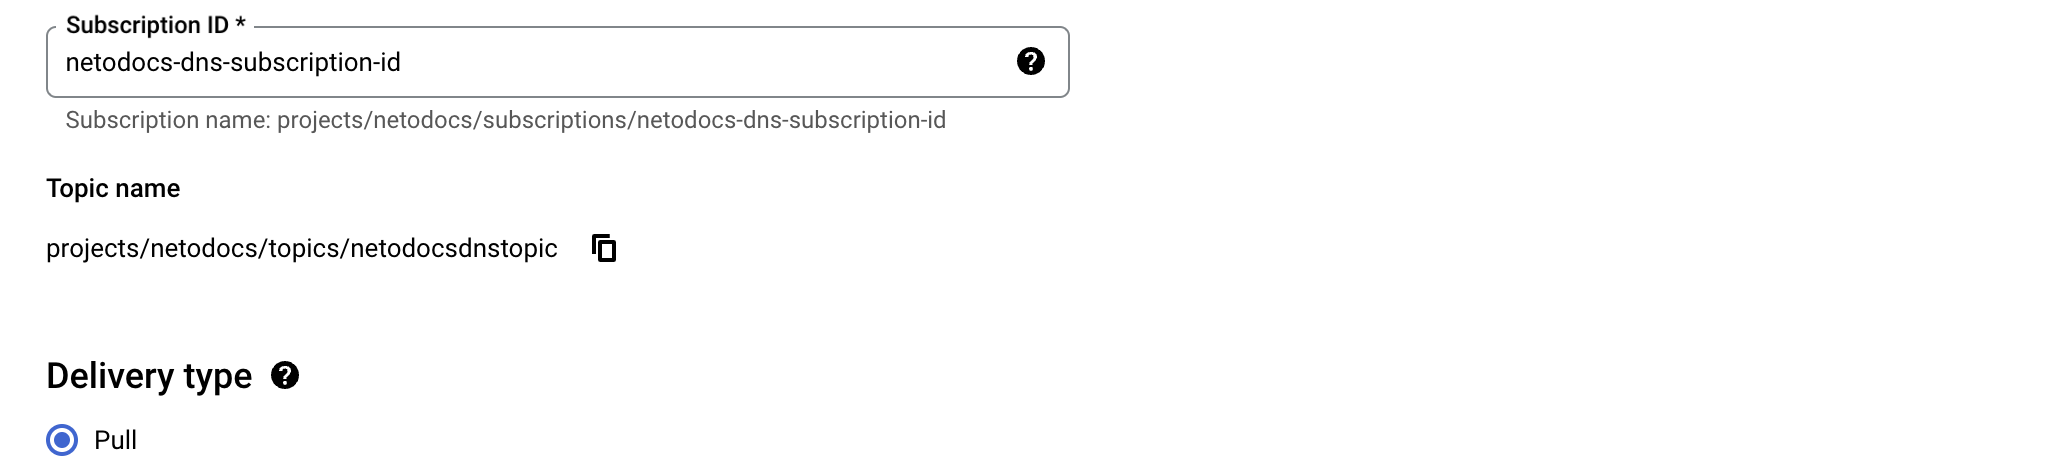
- Set the Message retention duration to 1 day

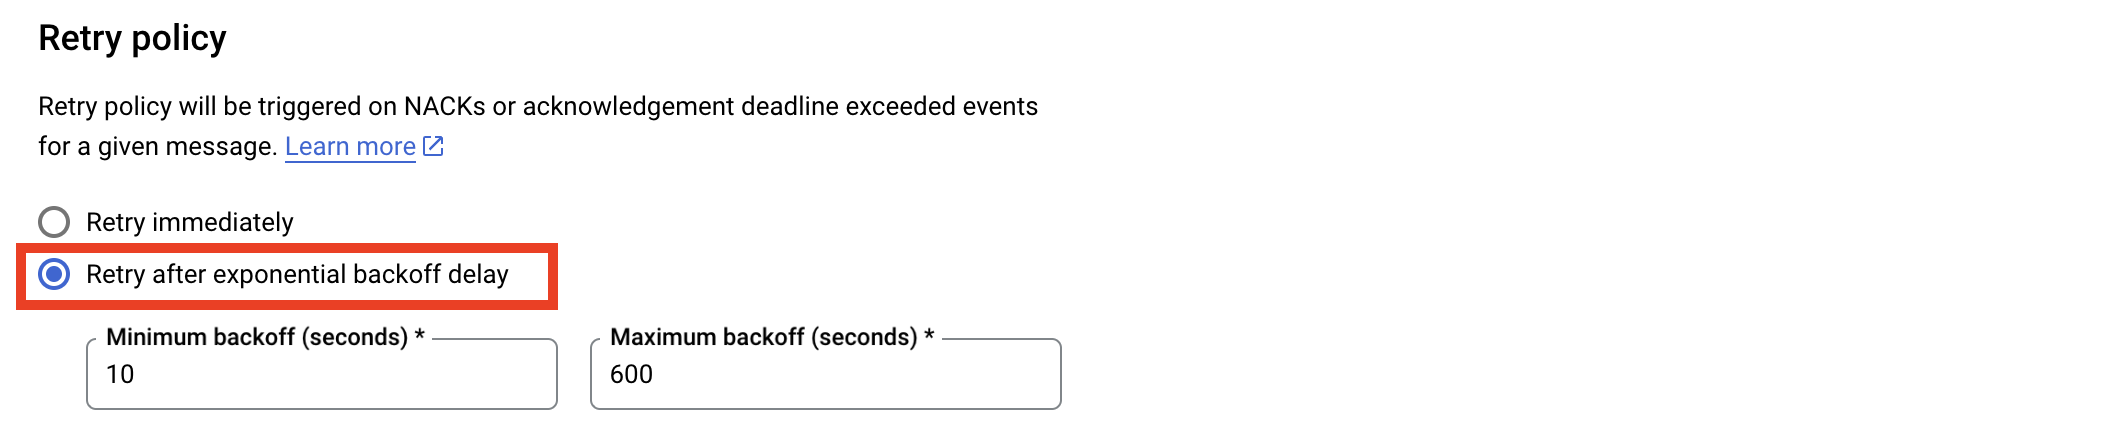
- Finally, for the Retry policy enable Retry after exponential backoff delay and leave the reset set as defaults.
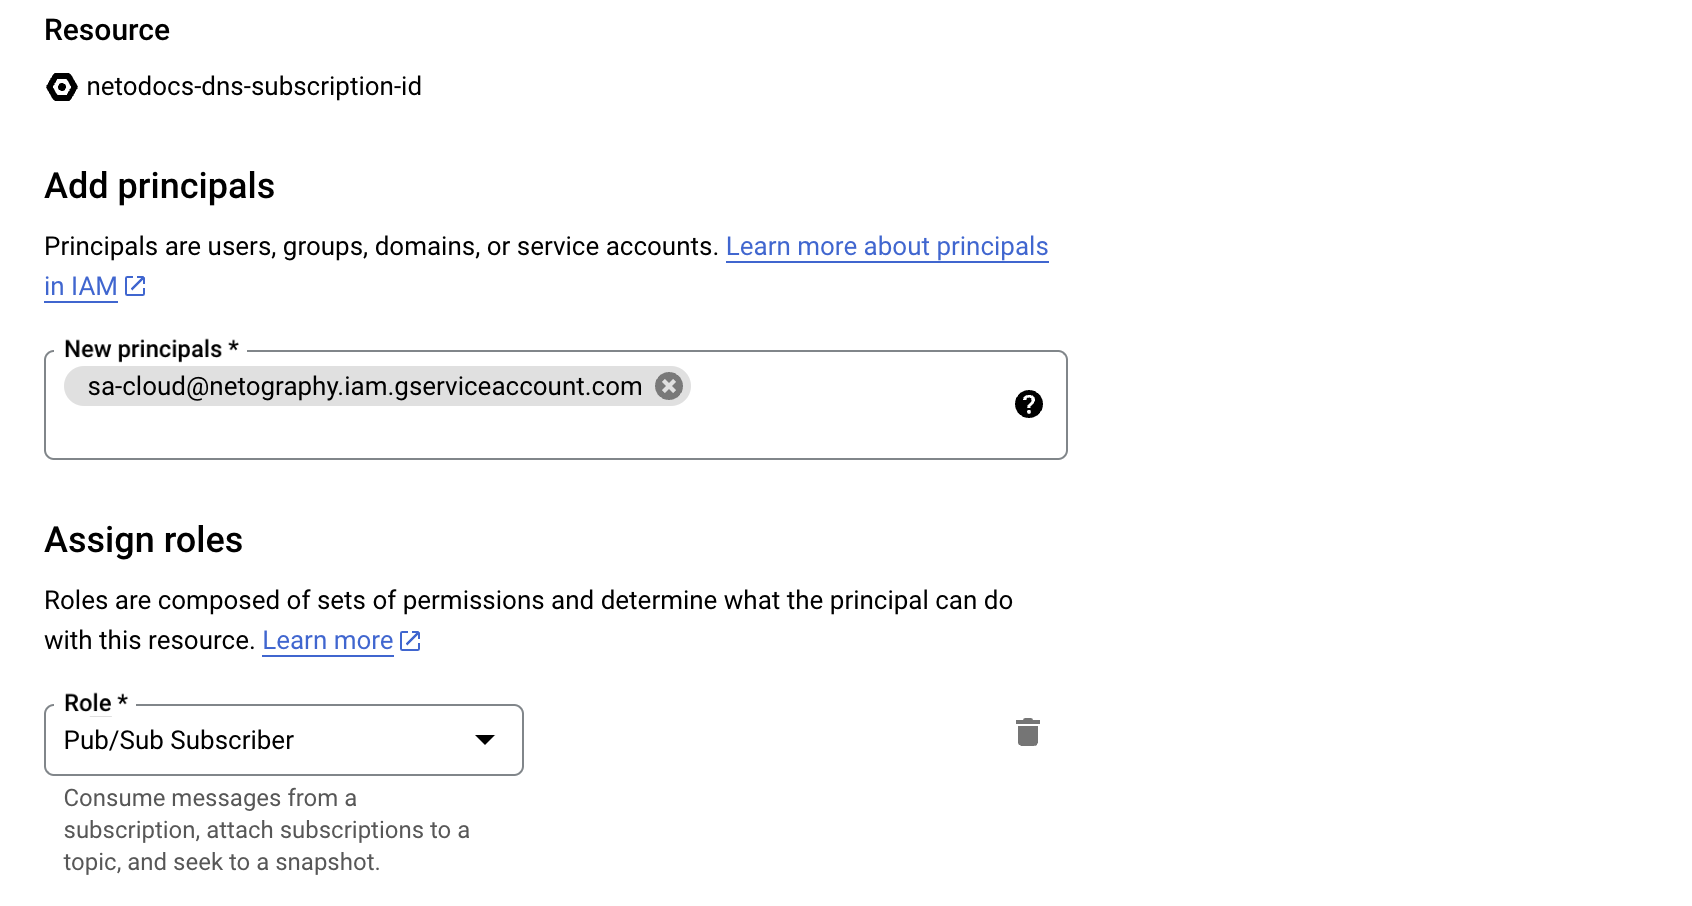
4. Add Netography's GCP service account as a principal to the Pub/Sub subscription
- Go to the Subscriptions page in the Google Cloud console.

- Select the subscription you created in the previous step to bring up the subscription info panel on the right.

- Select Add Principal in the info panel on the far right.

- Add [email protected] as the New principal, and assign Pub/Sub -> Pub/Sub Subscriber for the role, then click Save.
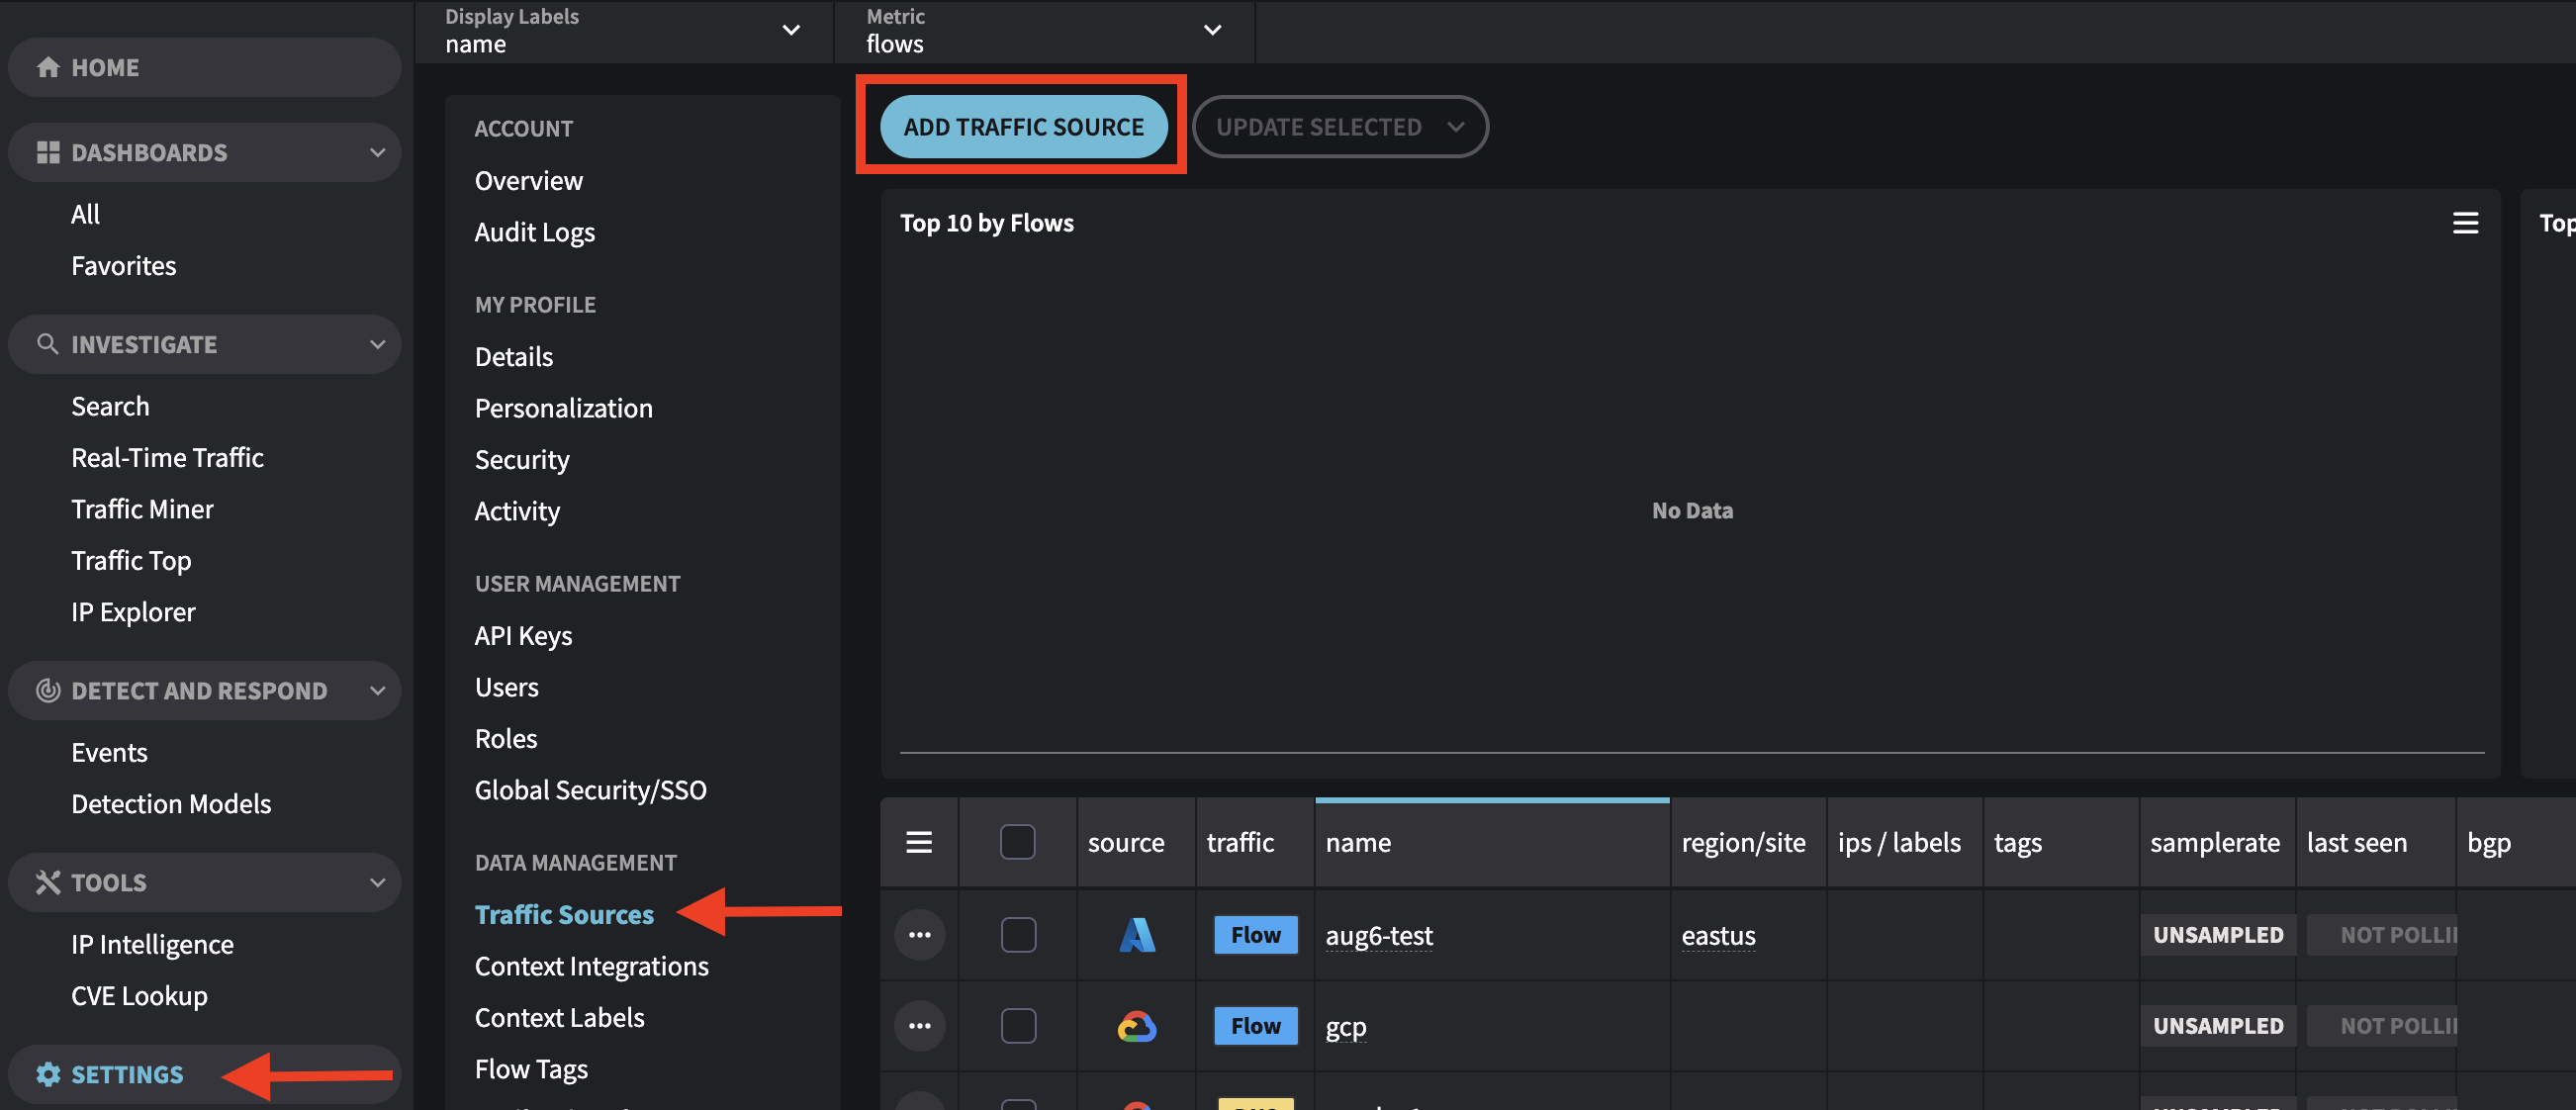
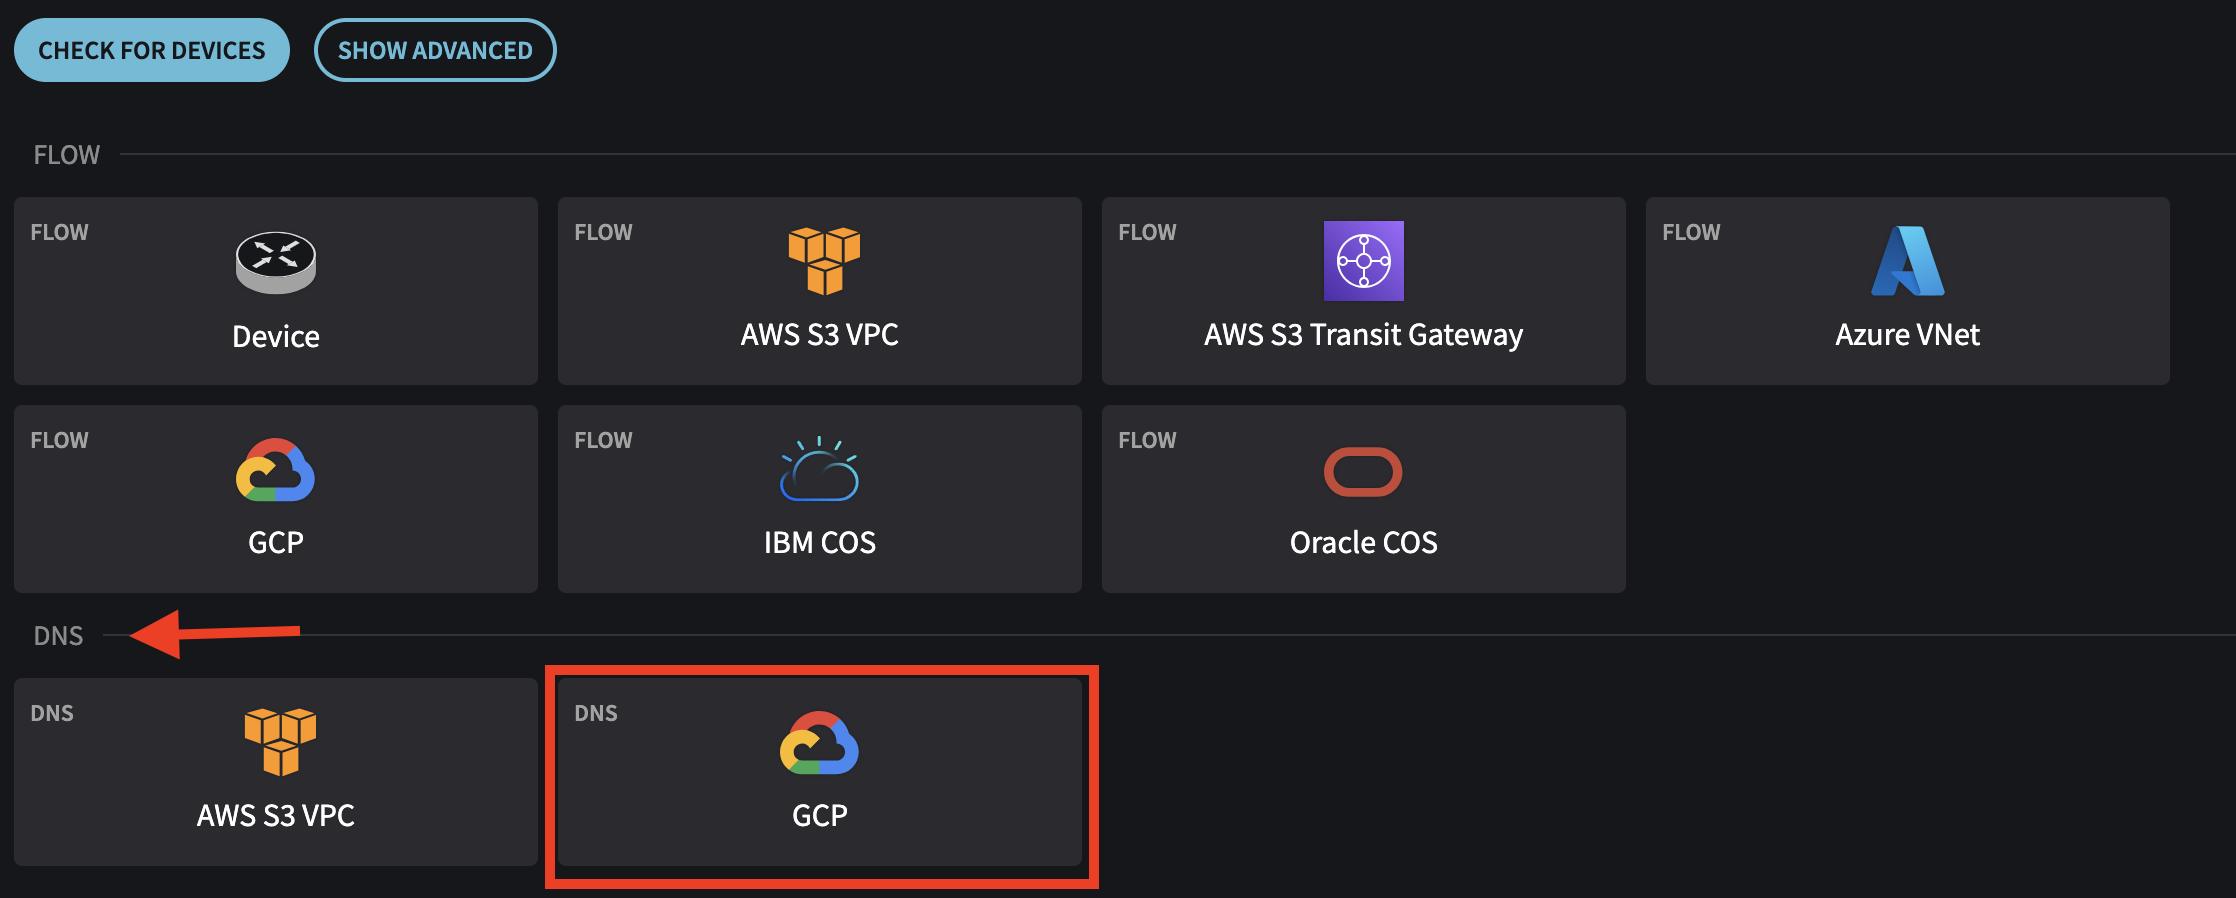
5. Add a new GCP DNS traffic source to Fusion
- In the Fusion portal, click the ⚙️ -> Settings -> Traffic Sources -> Add Traffic Source -> DNS GCP
- Give your DNS integration any name, enter your GCP Project ID and the new Subscription ID you created in the previous steps. Click Save.

You're done!
Updated about 1 year ago